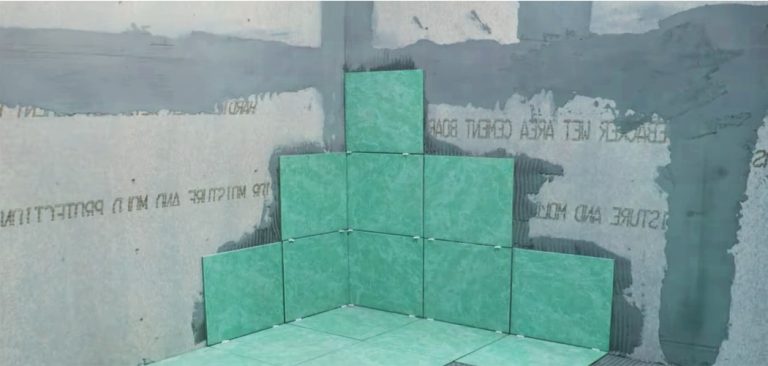
How to Remove Ceramic Soap Dish From Tile Wall
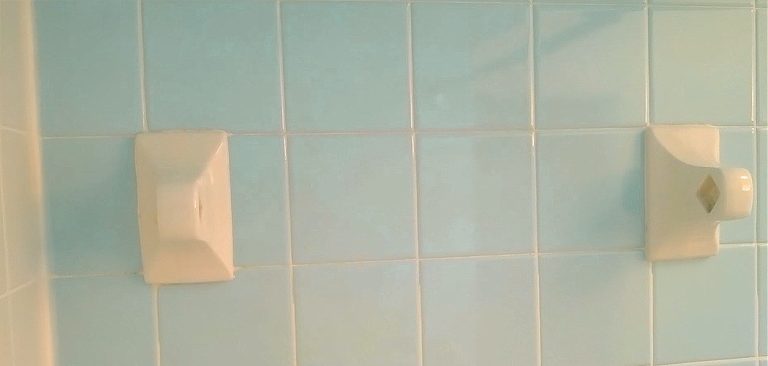
Ceramic Soap Dish is one of the Breakable things in the bathroom. So in this type of work, one must be careful and work slowly. Now we will learn how to remove ceramic soap dish from the tile wall.
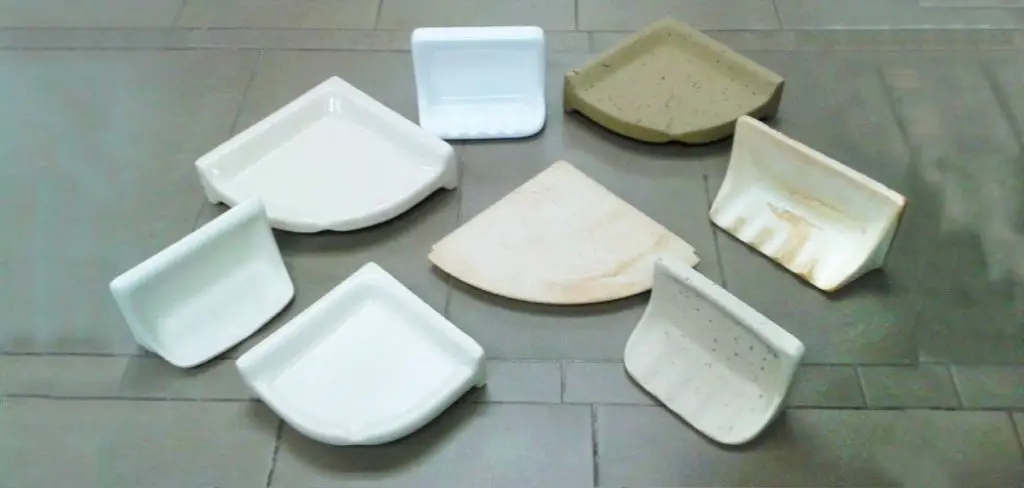
Step by Step Guides on How to Remove Ceramic Soap Dish From Tile Wall
If the Soap Dish is Attached With Screws and Glue:
Here Are the Things You Will Need
- A screwdriver
- An awl or a drill
- Ceramic tile adhesive remover
- Rags or towels
- The first step is to remove the screws holding the ceramic soap dish in place. Use a screwdriver to do this.
- Once the screws have been removed, use an awl or a drill to make a hole in the adhesive holding the ceramic soap dish in place.
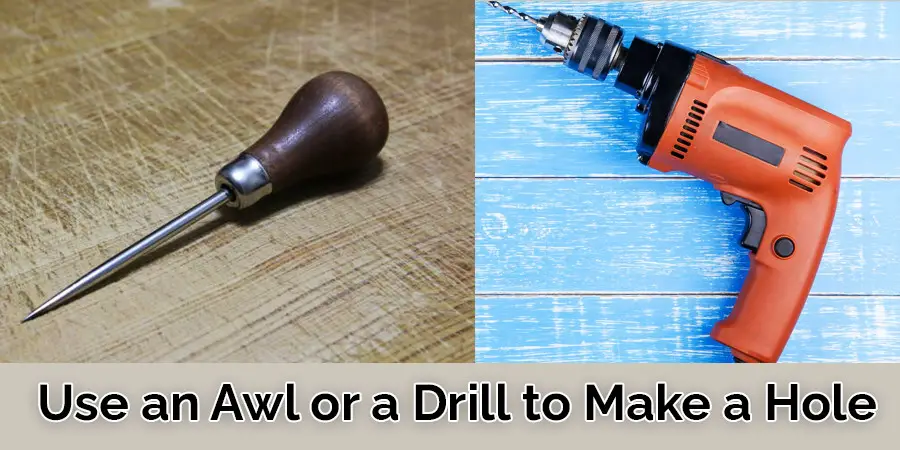
- If you are using an awl, make sure that you insert it at an angle and avoid damaging the tile. If you are using a drill, make sure that you use a drill bit that is smaller than the tile.
- Once the hole has been made, use ceramic tile adhesive remover to remove the adhesive. Put some of the adhesive removers on a rag or towel and then rub it on the adhesive.
- The adhesive should start to come off. Keep rubbing until it has been removed.
- Once the adhesive has been removed, use a rag or towel to clean the area. Make sure that all of the adhesives have been removed.
- If there is any adhesive left on the tile, it can be removed using a commercial adhesive remover.
If the Soap Dish is Fitted With Caulk and Glue:
- Lay a cloth under the area where you will work so that you can easily remove the broken pieces after work.
- Ceramic Soap Dish is usually attached to the wall of the tiles with a combination of glue and caulk, which is not removable. So you should remove the tiles with the Ceramic Soap Dish attached.
- First, remove the caulk around the tile with a knife to separate the soap dish tiles from the wall.
- Then break the tiles little by little with Chisel and hammer.
Next, you bring another new tile and place it there. After 1-2 days, when the tile fits well, you can install the new Soap Dish again.
Process of Removing Adhesive on the Tiles
- If the ceramic soap dish is attached with adhesive, use a utility knife to score around the dish. This will help to weaken the bond and make it easier to remove.
- Apply a heat gun or hairdryer to the scored area and wait for the adhesive to soften.
- Gently peel back the dish from the tile. Reheat the adhesive and try again if it doesn’t come off quickly.
- If any adhesive residue remains on the tile, use a toothbrush to scrub it away. Be sure to avoid using harsh chemicals, as they could damage the grout lines.
- Wipe down the area with a damp cloth to remove any remaining adhesive or residue.
Safety Tips
Use Goggles and Mask
When you work on tiles, there is a lot of dust that can sometimes be very harmful to the eyes and lungs. To get rid of this problem, you must start wearing glasses and masks. You should wear two things well so that dust does not get in.
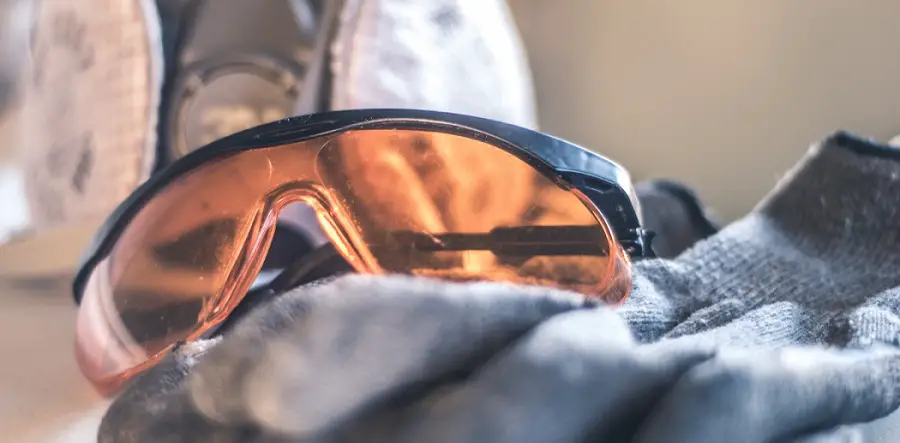
Regularly used glasses will not give you good protection. Use special good quality glasses available in the market for this type of work.
Use Gloves
You are more likely to be injured when working with heavy equipment, so you must use gloves. Use gloves made for this type of heavy work.
Why Might It Need to Be Removed or Replaced?
Homeowners typically replace or remove their bathroom soap dishes for three reasons.
Remodel or Decoration
If the soap dish does not match the new decoration of the bathroom, it can be removed or replaced. Sometimes a small thing spoils the beauty of the decoration.
Broken or Cracked
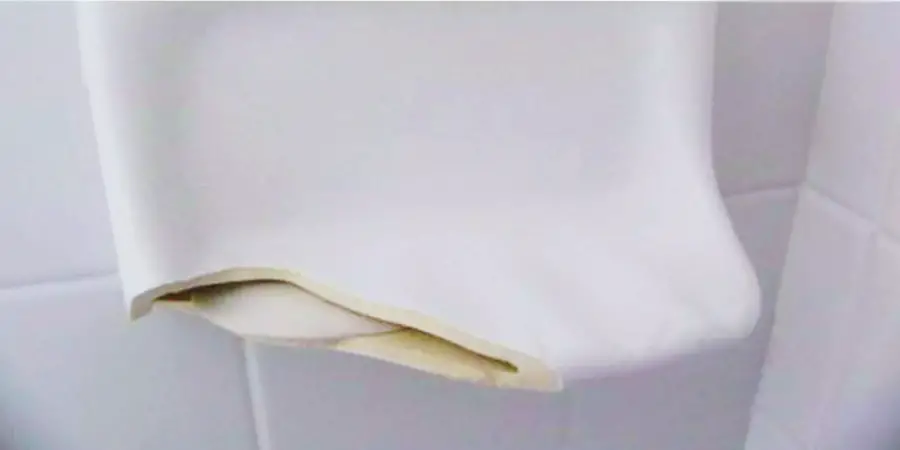
Ceramic Soap Dish may develop broken or cracked, necessitating replacement.
Scratches or Rust Spots
Mold, rust, and scratches on ceramic soap dishes in the bathroom after prolonged use, which Scratches or rust Stains cannot remove. Then there is no choice but to change it because it looks bad.
Can I Reuse Ceramic Soap Dish?
If you can carefully peel the Soap Dish off the tile, you can reuse it. Ceramic Soap Dish can reuse those attached with screws.
Conclusion
Removing soap dishes from tile wall is a difficult task, so it’s best to hire professionals for this job. However, if you are good at DIY projects, you can also try the steps given above.
You may read also –
- How To Remove Ceramic Towel Bar From Tile
- How to Remove a Stripped Screw From Toilet Seat
- How to Install Bathroom Vanity Against Baseboard