How to Change Light Bulb in Shower Extractor Fan
Changing a light bulb in your shower extractor fan can be tricky, but it’s not impossible. Have you ever needed to change a light bulb in your shower extractor fan? Well, if you haven’t, this is what we’re going to show you today.
Be Aware of Safety
- Discharge the bathroom fan as you work on electric lines.
- Hands should not be wet while changing the light bulb
- Before working, check with a tester whether the fan body and cables have powered off. If not, turn off the main line of the house.
- You may need to use a stepladder or chair to reach the Extractor Fan. Place it properly before climbing on it, or get someone else to hold the stepladder. There is a fear of losing your balance and getting hurt.
How Do I Know Which Light Bulb I Need?
The main problem with the new bulb is its size. Many types of lights have appeared in the market, with different shapes and styles, such as Globe Standard, Reflector, Tube / CircleTube, HID, Miniature / Capsule. The simple solution is to search the market for the brand and size of Extractor Fan light. But often, it is not available.
If not available, you need to measure the light part of the Extractor Fan. Then buy lights of that size or smaller size from the market. The color of the lights may vary from time to time, which should also be considered.
If the lights’ power is low, you may face a low light problem. So it should be noted that the ‘watt’ of the light is correct or more.
7 Steps on How to Change Light Bulb in Shower Extractor Fan
Tools You Need
- A Light Bulb
- Screwdriver
- Scissor
- Wire Clipper (Optional)
Step 1: Turn the Power Off
Turn off the power to your shower extractor fan. Sometimes it can be just as easy to turn off a circuit breaker directly rather than disconnecting everything. If you’re unsure how to do that, please get in touch with your local utility company for support on how safely shutting down circuits works best in this case.
Step 2: Remove the Cover of the Fan
This will be a simple task of unscrewing a few screws from the light cover on some fans. On others, you may have to remove clips or snaps.
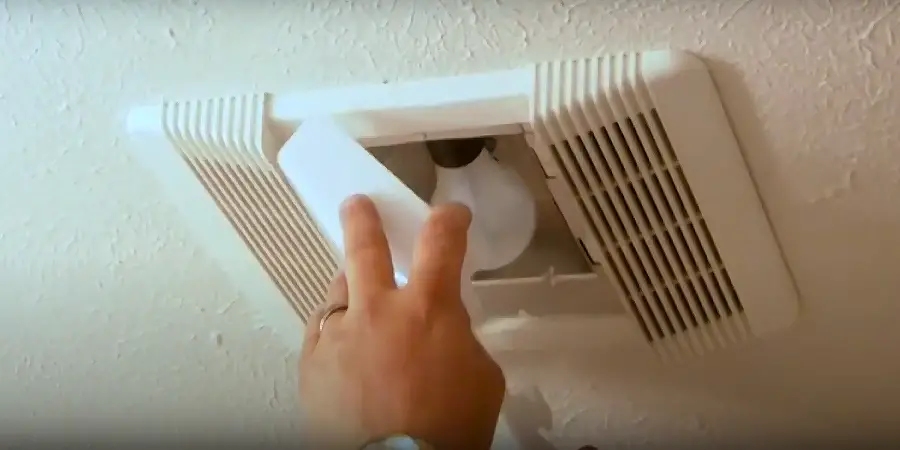
Nowadays, the mechanisms of the covers are done in different ways without using screws, such as Notch or Groove Mechanism, Spring-Loaded Mechanism, Slotted Connectors, Flush Mount, etc. But unlocking them will not be a complicated matter for you to unlock. You can remove the cover only if you look carefully.
You will get the details if you have the product’s instruction paper; otherwise, you can check the process on the brand’s website.
Step 3: Unscrew Bulb
Unscrew the bulb and take out all of the screws holding it into place (this is where you will find the actual box for your light fixture in most cases)
Step 4: Pull Out Wire Connector to Light Bulb
Pull up and remove the cable from any clips holding it to other wires (if there’s a wire, chances are there is an electrical clip underneath it. It needs to be unscrewed or cut off with scissors first).
You may want to keep track of this cable if unpicking takes place because reattaching cables can sometimes require rewrapping it around a wire for them to snap back together again.
Step 5: Insert the New Light Bulb Into the Socket
Grab your new light bulb and insert it into the lamp housing where the old one was unscrewed from if you are replacing it with an identical fixture or screwing on if you are exchanging out with something different, depending on what type of lighting needs to be put in place.
Screw that backs down tight! This is important because any loose screws left in the circuit could be disastrous.
Step 6: Screw Down
Find a tray for your wires and insert it into the slot on top of where you unscrewed the light bulb before, then screw down (or use wire clippers) all cords that are still attached to their respective parts of the new fixture if they have clips already holding them or by wrapping those cables around a fresh part of its plastic housing.
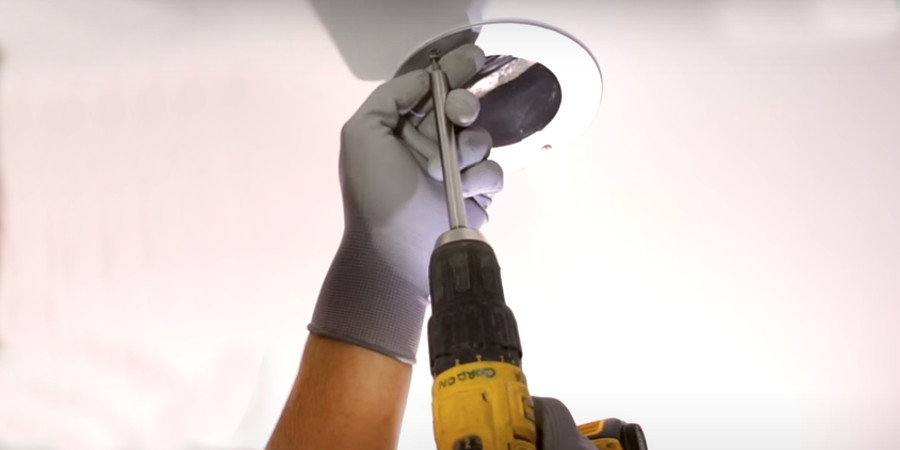
Step 7: Done!
Tuck the new light bulb into place, screw it down and you’re all done!
What to Do if a Light Fixture Screw is Stuck?
A light fixture or its screw getting stuck is a common thing. This problem can be faced for several reasons, such as mold or rust due to humidity, accumulation of dirt, etc.
You first need to understand the problem of why the screw is stuck. If the grime has hardened, spray a little soapy water on the cotton and then try to open it. Thus, you can use the mold, rust remover, or oil spray for rust.
How Can I Tell if the Light Bulb Is Burned Out in My Shower Extractor Fan?
Suppose you can’t see any light coming out of the fitting. If you hear the fan running, but no air is coming out, it could also be a burned-out bulb or dirty filter. You can test whether or not the bulb is burned out by wiggling the power cord and seeing how bright the light gets.
Where Can I Buy Replacement Parts for My Shower Extractor Fan/light Bulb?
You can buy the replacement parts for your shower extractor fan light bulb at hardware stores or online (Amazon, Walmart)
When Do You Know if a New Fixture Should Be Installed Instead of Replacing the Existing One?
It is no longer possible to clean the fixture because the parts cannot be easily removed for cleaning. Sometimes, a fixture can become so dirty from mineral deposits or mold that it’s best to replace the entire thing with time.
If you notice this start happening with your shower extractor fan grille, then it may be a good idea to install a new one before recleaning becomes impossible.
What Types of Lighting Need to Be Put in Place?
With most shower extractor fans, it is best to use LED bulbs to last longer than conventional bulbs for this application.
Extra Tips
If you change your lights, install LED bulbs. They are durable and energy efficient. Also suitable for humid environments like bathrooms. The price will also be within your means.
When re-setting by changing the included light bulb of the Extractor Fan, wipe everything clean.
Conclusion
If you are looking for the best way to change the light bulb in the shower extractor fan or any other related information, please leave your feedback below. We will try to solve your problem as soon as possible. Thank you for visiting our blog and have a nice day!
You may read also –
- How to Vent Bathroom Fan Through Gable
- How to Install Bathroom Vanity Against Baseboard
- How to Keep Water From Evaporating in the Toilet

