How To Install Hardiebacker Board Around Bathtub
HardieBacker board is the perfect choice for a bathtub surround and even bathroom walls. It is necessary to prevent wooden floors and walls from damping. It is also used for good-looking and beautification purposes. There are several types of the backer board in the hardware shops, but HardieBacker Board can be a good choice for your floor and wall to install tiles on it.
Backer Board gives you a feel of the next level that you like most. Correct installing the backer board is not critical, but you should pay close attention while working on it. Here, I am giving the best easy method and saves you time and money. So, follow these steps below to ensure you get the perfect result.
What Is a Cement HardieBacker Board?
HardieBacker cement board is a great tile underlayment for walls, floors, and countertops. It is also called HardieBacker 500 Cement Board. It is made of 90% Portland cement and sand, making it resistant to moisture damage and providing excellent adhesion to tiles.
What Is the HardieBacker Board Used for?
HardieBacker board is most commonly used as a tile backer for walls. Many engineers and specialists suggest this backer board for bathtubs because it exploits moistures and it makes the wall harder and perfect for tile installation.
Step by Step Guide on How to Install HardieBacker Board Around Bathtub
There are a few easy steps to installing a HardieBacker board around your bathtub.
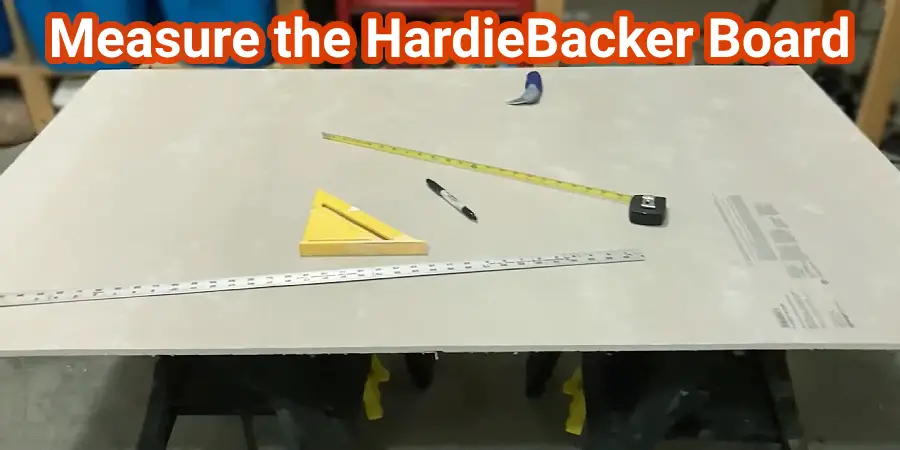
Step 1: Measure the Board
Measure the circumference of your bathtub accurately and cut a piece of HardieBacker board with a Carbide-tipped blades/knife; you can use a sharp utility knife or shears that are the same size that fit. Accurate measurement for both wall and backer board is most important, saving your time and preventing unnecessary wasting.
Step 2: Apply Adhesive for Placed
Apply temporary adhesive around the perimeter of your bathtub wall. It must be placed between two hard boards leaving a space equal to the thickness of a screw (1.25 inches screws are recommended).
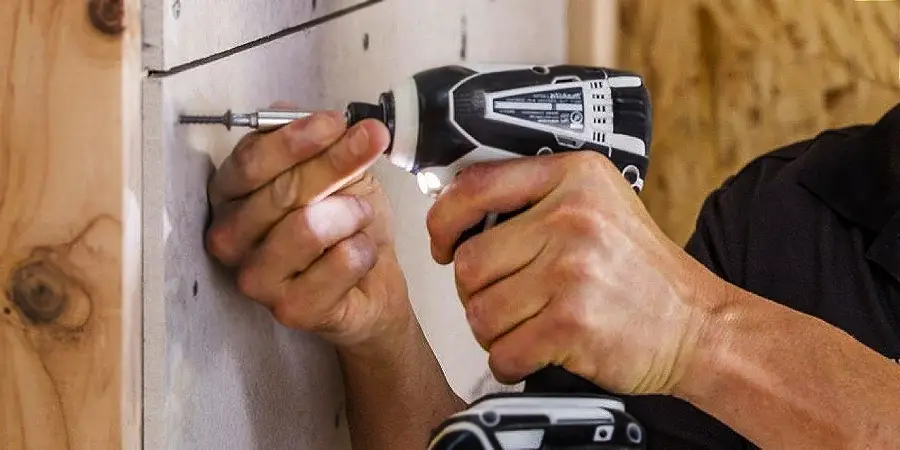
Step 3: Drill Screws Into the Board
Attach HardieBacker board to wall with drilling screws. Ensure the adhesive is still in good condition and board alignment/level both edges are perfect before you attach the board, or else it may not hold with and may have uneven level positioning. Remember, you must use corrosion-resistant nails or screws, giving the board extended life.
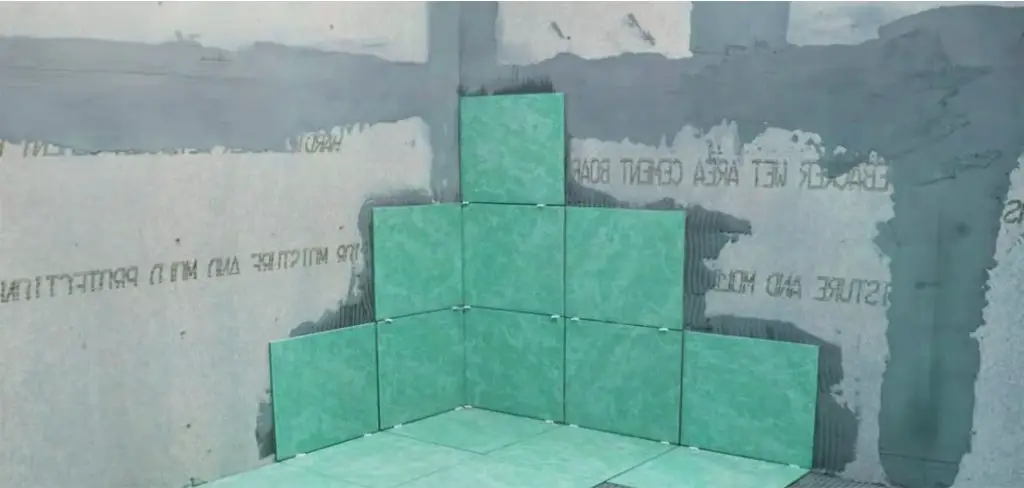
Step 4: Apply Mortar and Glass Fiber Tape
Then fill the empty space between the boards with mortar. Then apply high-strength alkali-resistant glass fiber tape on top of the mortar and level ( 2 inches wide for mentioned glass fiber tape is recommended).
Step 5: Wait for Done!
Wait for 3 to 4 hours for the adhesive to set and mortars to dry, and then your bathtub is ready to set tile!
N.B. Using appropriately sized notched trowels based on tile size during installing tiles.
Frequently Asked Questions
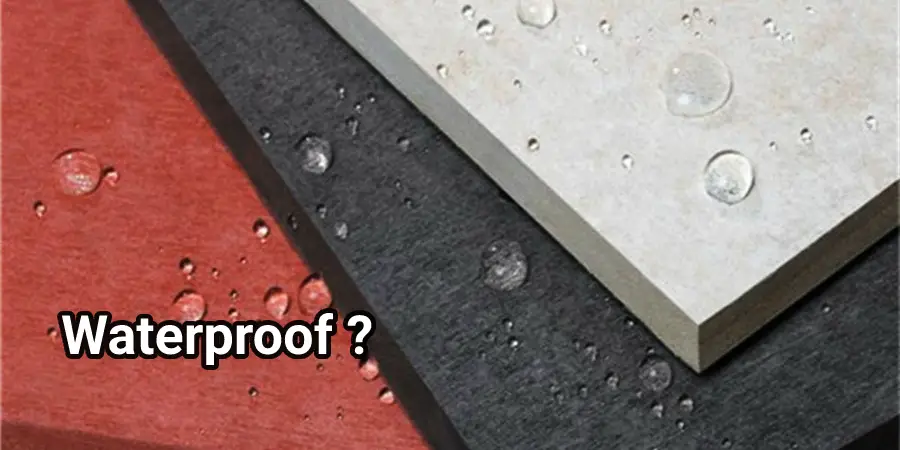
Is the HardieBacker Board Waterproof?
HydroDefense Technology is a waterproof cement backer board that has been proven to be effective in providing a barrier against water damage. It is especially beneficial for areas such as the basement, wet garages, and kitchens where moisture is common.
Is HardieBacker Strong?
Yes, it is a strong enough, lightweight cement board that will last longer.
Which One Is Better: Hardibacker or Wonderboard?
HardieBacker is made of a blend of cement, sand, and cellulose fibers, while WonderBoard is made of a cement mixture. On the other hand, both are water-resistant. But HardieBacker is more effective for bathtubs, showers, toilets, and other wet areas. WonderBoard is usually designed for outdoor use.
What Kind of Blade or Knife Do I Need to Cut the Hardie HardieBacker Board?
Carbide-tipped blades (knife) are commonly used for cutting HardieBacker boards. But regularly using a utility knife also does this job. You can also use electric shears as another option (but it may be uncomfortable a little bit for you).
Note: Do not run a high-powered grinder because it can cause a dust hazard.
How Long Does HardieBacker Board Last?
HardieBacker boards can be used effortlessly for 15-20 years; it lasts for more than 30 years with good maintenance.
Conclusion
This is a good tutorial for you to follow for the best result. It’s very easy to install a HardieBacker board around the bathtub and make your bathroom design look perfect. I hope this process of HardieBacker board installation can help you at your desired level. Leave a comment if you have any questions or suggestions about this topic.
You may read also – How to Install Bathroom Vanity Against Baseboard