How to Remove a Stripped Screw From Toilet Seat
Have you ever tried to remove a stripped screw from a toilet seat? If so, it probably ended in failure and frustration. Stripped screws are often found during maintenance of the old fittings and face difficulties opening or removing old fixed things like toilet seats.
To do this work in the right way and be confident. You need to read this article and follow the guidelines for the best results. This article will show you how to remove a stripped screw from the toilet seat. We will also recommend a few ways to prevent any damage to the product in these situations in the future.
Why Can Screws Be Stripped?
1. Water, Dust, Rust
Water, dust, humid air, etc. cause rust on the screw, and due to that, the head of the screw, even sometimes the body of the screw (for oldest) decays, causing strip.
Rusting is a trend of converting iron or steel into a form that is no longer usable for its original purpose as we find commonly, the screws are made of iron or steel. Even, In the case of screws, the rust causes the screw to lose its integrity and become loose.
2. Toilets Humid Air
Screws can be stripped because of humid air too. Screws become stripped when pulled out of a piece of wood, ceramic, metal, or plastic. The screw will get bent and eventually breaks off from the wood, ceramic, metal, or plastic. This problem is more common in humid weather.
One of our articles – How to Cool Down a Bathroom
3. Use Wrong Screwdriver Bits
The reason why screws can be stripped is that the screwdriver has a different size for different screws. The wrong screwdriver is used for opening the screw, and it can be stripped.
Sometimes, the body of the screw stuck very tightly with the metal or wooden part that was fixed before. In that situation, the screwdriver can also be slipped during removing the screw and stripped.
4. Poor Quality Screws
Poor quality screws are a common cause of stripped screws easily within a short period. The screw can also be stripped the poor quality of the material used in manufacturing screws, but it can also be due to poor manufacturing processes.
5. Over-tightening the Screw
When it is difficult to remove the screw, over-tightening may be one of the causes. Sometimes, people may over-tighten them to get a better fixing result, which is not recommended.
These acts can be very difficult to remove later, even having a chance to damage both metal and plastic fixing points which can change their shape after being over-tightened.
4 Methods to Remove a Stripped Screw From the Toilet Seat
A stripped screw is a common problem in toilets. Here are some methods for removing a stripped screw from the toilet seat.
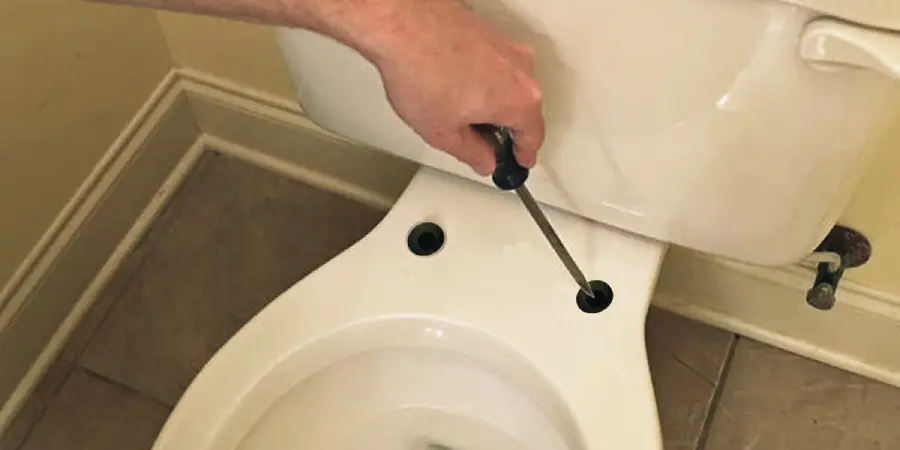
Method 1: Cut a Slot and Use Flat-head Screwdriver
Cut a slot with a hacksaw or any cutting tool to easily remove a stripped screw from the toilet seat. With this tool flat-head screwdriver removes stripped screws from toilet seats. Get the job done fast and easily.
Method 2: Use an Abrasive Powder
It is a good way to remove stripped screws from the toilet seat. Just sprinkle a coarse amount of this abrasive mixture into the screw head and insert it into the stripped screw from the toilet seat.
Method 3: Use Rubber Bands for Grip
This is a pretty cool way to remove a stripped screw from the Lavatory seat! Place a rubber band around the stripped screw from the toilet seat to hold it in place. Then use your screwdriver bit to remove the stripped screw.
Method 4: Try With a Larger or Other Screw Driver
Different screwdriver sizes are available to remove the stripped screw from the high commode. If a stripped screw does not fit in normal size, try to use a different sized one to remove the stripped screw from the WC seat.
Frequently Asked Questions
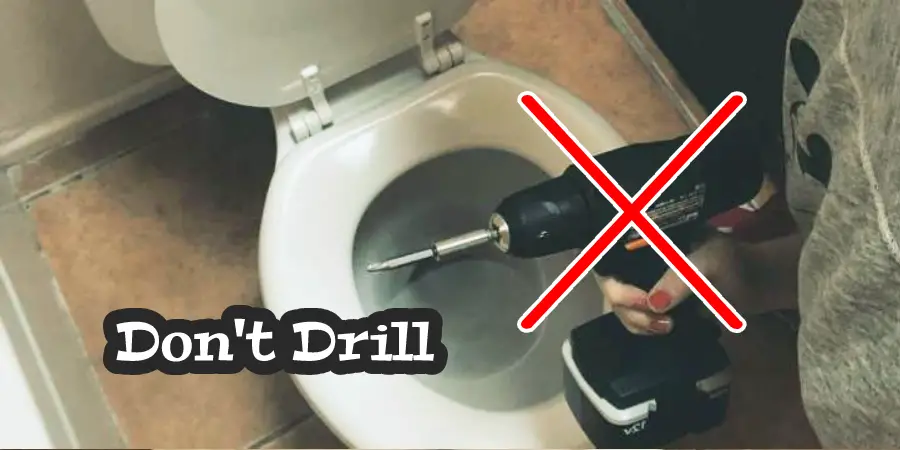
Can You Use a Drill to Remove a Stripped Screw From the Toilet Seat?
No, because the ceramic toilet seat could break when removing it with a drill or other tool to loosen it, but you can use a drill on a plastic toilet seat if required.
Conclusion
You have found several answers to solve your problem. Now you might need to understand it and apply it correctly. This article is going to be helpful for you. We are here to help you. Please share this post with your friends so that they can also benefit from it. You can also help your neighbors by suggesting how you solved the problem.
We welcome your comments and feedback on this post. If you have any suggestions or ideas for our blog, we’d love to hear from you! Please share your ideas with us in the comments below.
Read Our Another Article: