How to Deep Clean Thetford Cassette Toilet
Thetford cassette toilets are among the most popular in use today. They’re durable, reliable and easy to maintain. To keep your toilet running smoothly for years to come, you should deep clean it regularly. This article will teach you how to deep clean the Thetford cassette toilet!
How Does the Cassette Toilet Work?
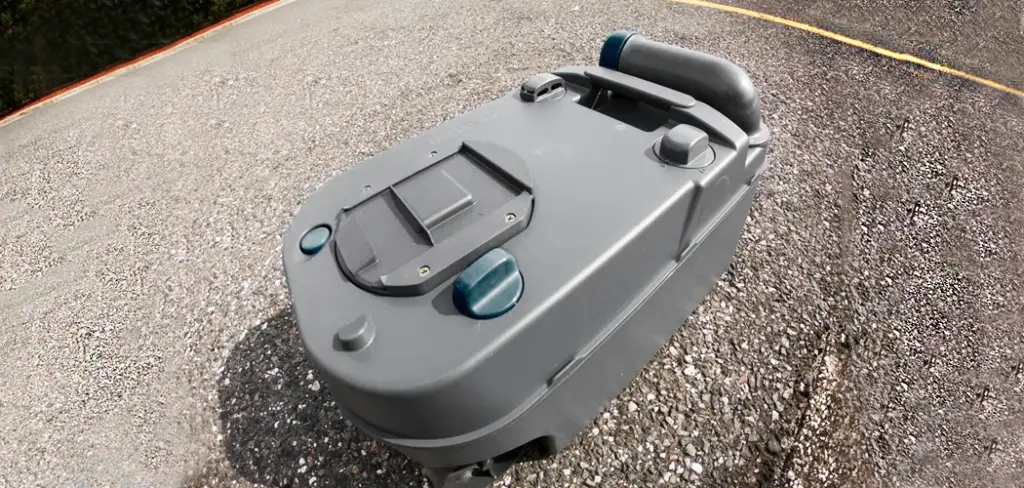
A cassette toilet is a portable type of waterless and chemical-free flush toilet. It’s similar to the porta-potty in that it’s meant for outdoor use. These toilets are great when there is no water supply where you’re at or if the water is not potable.
The cassette toilet gets its name from the removable cassette that stores the waste. The cassette has a hinged lid for easy access and emptying. The cassette also has a built-in toilet seat and cover. When you’re ready to dump the cassette’s contents, just open the lid and empty it into approved waste disposal.
A cassette toilet is a great option for camping, boating and other situations where there’s no access to water or sewage systems. They can also be used as temporary toilets in disaster relief areas that have been evacuated due to flooding and hurricanes.
To Deep Clean Your Cassette Toilet, You’ll Need:
- A brush with stiff bristles and a squeegee (if using bleach)
- Freshwater hose to flush out the toilet bowl after cleaning. You can also use tap water or distilled white vinegar in place of bleach solution if desired.
7 Steps on How to Deep Clean Thetford Cassette Toilet
Step 1 – Start From the Upper Part (Seat)
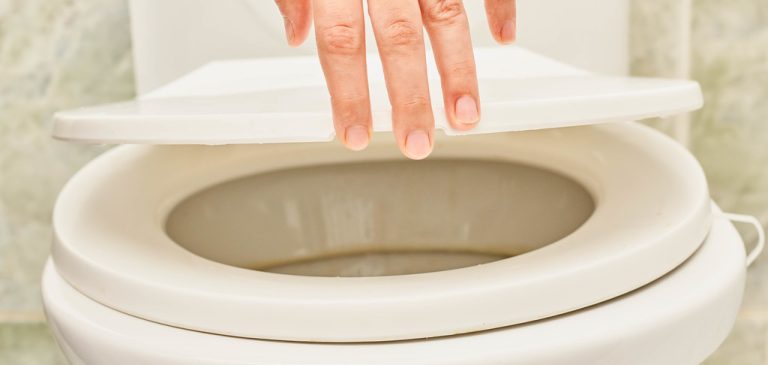
Start from the upper part of Thetford Cassette Toilet. You can use regular toilet cleaner to clean the surface. Then wipe around the outside of the toilet seat with a rag or tissue. Then follow the next step. Don’t forget to wear hand gloves.
Step 2 – Remove a Thetford Toilet Tank
The waste pipe valve must be turned off under the toilet seat; otherwise, you will not be able to remove the tank from the RV van or caravan.
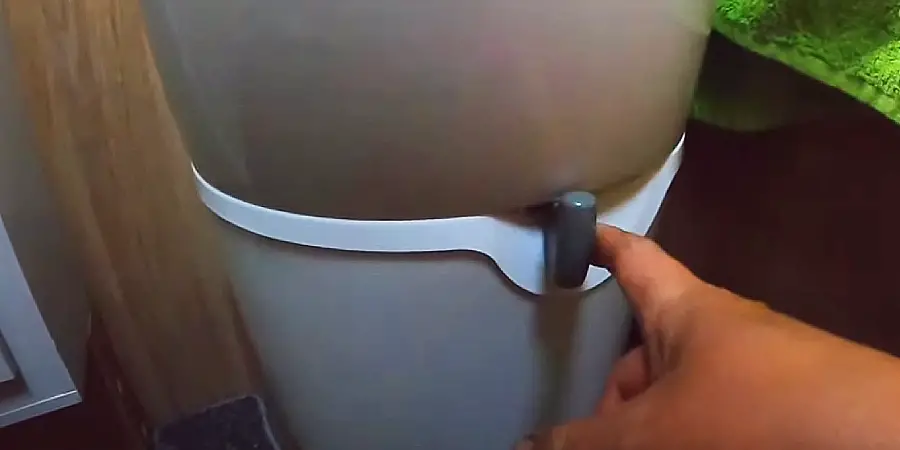
Then come out of the RV Van/caravan, and unlock the Cassette Toilet Tank area with the key. You can see a lever under the Tank ; pull it upwards and pull the Tank out.
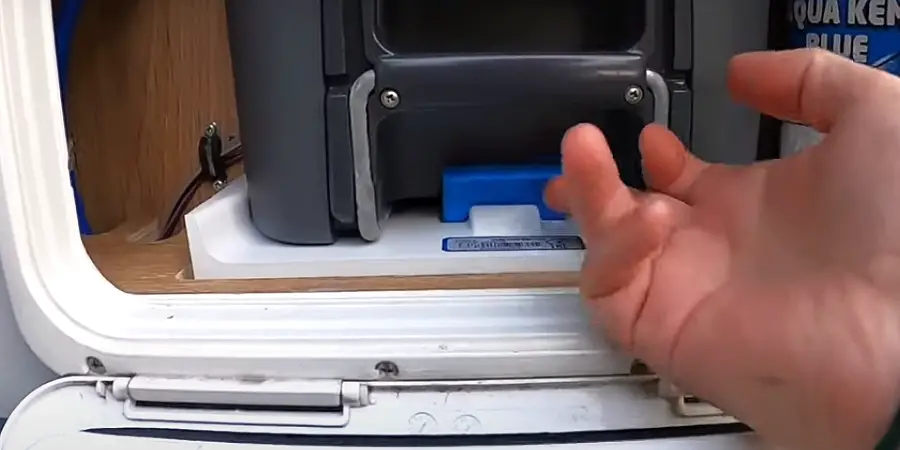
Step 3 – Flush and Empty Your Cassette Toilet
You can choose any public Dump Station, Elsan Points, or Chemical Toilet Disposal Units for emptying and take the Tank there.
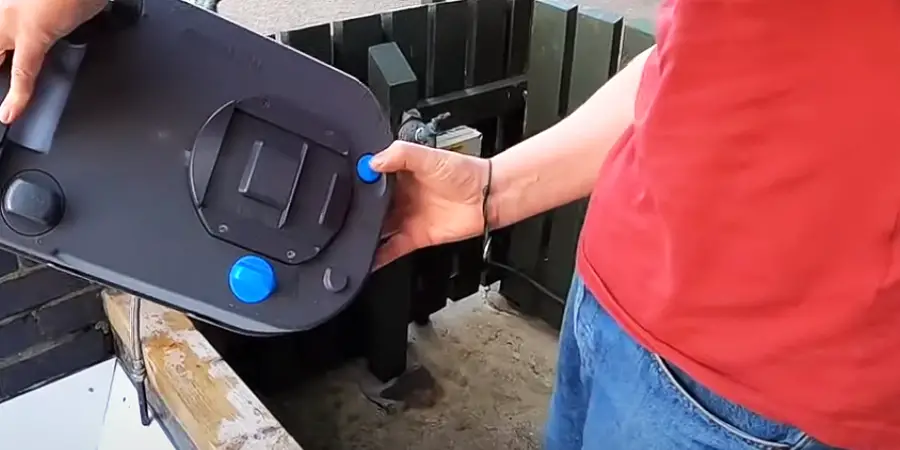
Now you need to open the toilet Tank cap; there is a button at the bottom of the Tank to press and throw out all the waste inside the point. Then again, fill the Tank with water and drain the water.
(Note: There may not always be water available)
Step 4 – Select a Cleaner
Many types of cleaners are available in the market for cleaning Cassette toilets. Select a good quality cleaner (I have given some suggestions below the article).
Mix the Cassette Toilet Cleaner in as much water as possible and make a bubble.
Step 5 – Use Cleaner Inside the Toilet Tank
You need to ensure that there is no gas inside the Thetford Cassette Toilet tank. There will be a Vent button on the tank; if you press it, the accumulated gas will come out. Then pour the soapy water inside the toilet tank, put the cap on, and shake well.
Now open the cap and leave it for 3-4 hours so the cleaner can do its work. Then put the cap again, shake well, discard the water and wash the inside with fresh water several times until the water bubbles are gone.
Step 6 – Clean the Seal Cover
Remove the Seal cover of the Thetford Cassette Toilet. Turning anticlockwise with a little bit of force will open it. Then make some soapy water, dip the seal cover with a small toilet brush or bottle brush, and clean it well.
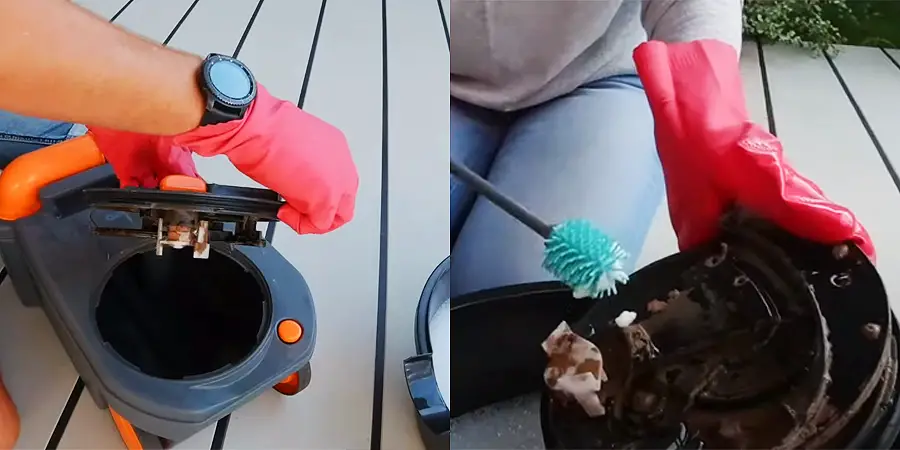
Step 7 – Deep Clean & Done!
Once the seal cover is clean, the inside of the tank should also be cleaned using a brush with soapy water. Next, partially fill the tank with water, mix vinegar and bi-carb soda, and attach the seal cover. Throw away the previous water and rinse with fresh water. Right!
That’s all there is to it! With a few simple steps, you can deep clean your cassette toilet and keep it running smoothly for years to come. Follow these tips and you’ll be on your way to camping bliss!
Where Can You Empty a Cassette Toilet?
Any random place should not be chosen for emptying the cassette toilet Tank. You will make the environment unhygienic; some locals may get sick.
Some special places have been specified for this, such as public dump stations, Elsan Points, or Chemical Toilet Disposal Units. If you search them on google Maps, you will get the nearby direction.
However, if you need to empty the cassette toilet urgently and cannot find the location of any point, you can dig the ground a little deeper and bury the Tank there. You can do this away from the locality. Try to empty the cassette toilet after every 1 to 2 days.
Some people empty the Tank in the normal toilet drain, which it should not do because it is often mixed with different chemicals, which are unsuitable for dissolving the normal drain.
How to Always Maintain Thetford Cassette Toilets?
The first requirement for maintenance of any toilet is to keep it clean at all times, but there are a few other things that remain in the case of Thetford Cassette Toilets. I am presenting them:
- If you don’t plan on using the toilet for a long time, keep the Thetford Cassette empty. Waste should not be stored for a long time.
- You can spray Thetford Cassette all over the toilet (Thetford Spray). It prevents the seals from drying out and smoothes them. Many people suggest using olive oil as an alternative.
- Deep clean after every vacation.
- Do not use any household cleaner, so many problems can increase.
How Do You Remove the Pump From the Thetford Cassette Toilet?
It’s quite simple really, Start by unplugging the power cord leading to the cassette toilet. Next, look at the top backside of your unit, and using a flathead screwdriver, gently pry up the small retaining clip located just above where your electrical wires go into it.
Once you have done that, simply pull down on both wires along with the pump all at once until they pop out of their corresponding socket. Finally, unravel any twisted-up wire still attached to your unit (usually easy), and congratulate yourself on successfully removing the pump from your Thetford cassette toilet!
How Do I Get the Smell Out of My Toilet Cassette?
Over time, what goes in the toilet cassette is going to smell. Whether it’s urine or poop, the smell won’t go away. This is when you need to deep clean your cassette toilet. The two items you will need for this are a good cleaning product and some water.
A really great way to get the smell out of your cassette toilet is by scrubbing it with bleach and water. After that, leave the bleach with water on it overnight to evaporate. You can also put some baking soda in the toilet so that when people use it, they’re not breathing in any chemicals like chlorine or ammonia.
Suggestion: Cassette Toilet Cleaner
Good quality cleaners are available in the market to clean cassette toilets. Here are some cleaners suggested by user reviews. You can also try these if you want.
Unique Tank Cleaner Liquid
Many recommend this product, especially for unclogging toilet tanks. Cassette toilets usually do not have clogs (if cleaned regularly); large black tanks do. But it is very effective for deep cleaning.
Thetford Tank Cleaner
Several of Thetford’s products are available on the market. Although based on Thetford’s products, you can also use other brand products. Its working process is very slow. Although Thetford Tank Cleaner claims to give effective results after one night, consumers are satisfied after using it for 2-3 nights.
Happy Campers
It can work in all types of temperatures (Hot and Cold) weather.
The cleaners have a bit of a bad smell, but it does not have any chemical or sewer smell. You can do toilet tank cleaning as well as toilet bowl cleaning with it.
Eco Strong – Toilet Holding Tank Treatment
I call it more of an odor remover than a cleaner. It is not as powerful as a cleaner. Its specialty is Biodegradable and environmentally safe. You can select it if you are an environment-conscious citizen.
Conclusion
I hope this article helped explain how to deep clean the Thetford cassette toilet. If you have any questions, feel free to leave a comment below!
Read this Article: