How to Install Jet Spray in Toilet
Toilet jet spray is beneficial in keeping the toilet clean and hygienic. But it can also damage your toilet if you do not install it properly. Most people have problems installing the jet spray because they don’t know how to handle the pipe end and force it into place. This article will teach you how to install jet spray in the toilet correctly.
There are mainly two types of jet spray you can install such as 1. Manual and 2. Electrical. The installation processes of the two are different too. It would help if you decided first which one you want to install, then step forward to establish the jet spray for your toilet and arrange the required things.
What is Jet Spray in Toilet?
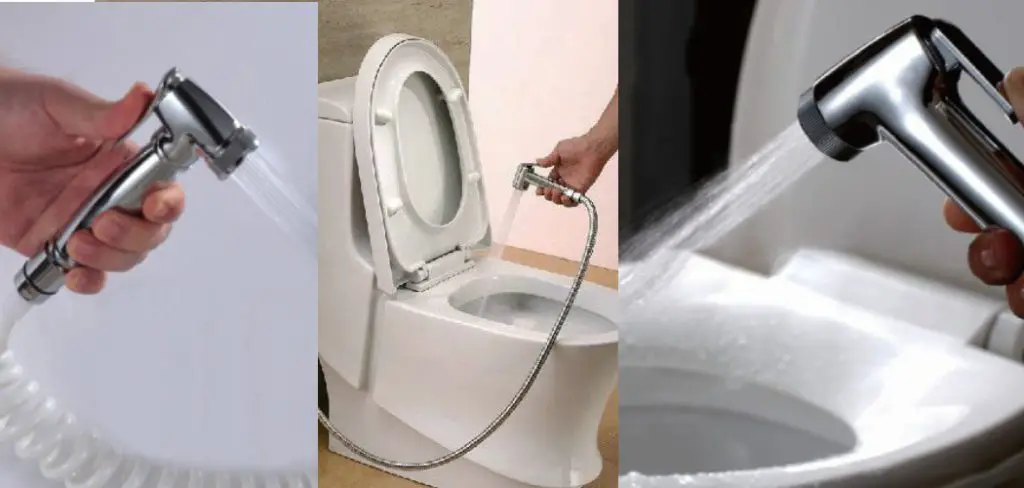
A Jet Spray in a toilet is a hand-held sprayer that releases a strong stream of water.
It’s often used in Asia, the Middle East, and Europe instead of toilet paper. The jet spray releases a stream of water that can be used for cleaning after using the toilet.
6 Steps on How to Install Jet Spray in the Toilet
Tools to Be Needed
- Pipe wrench
- Screwdriver
- clear rubber washers or hose clamps
- Toilet jet spray (if you replace your old jet spray or don’t have one.)
- It needs a new pipe clamp to replace the existing clamps.
For this part, you will need a “t-valve” that is connected to your toilet’s water supply. The valve needs to be switched off so that the spray nozzle won’t function properly, and then you are ready to start your work.
Step 1
If you are replacing the jet spray, you need to remove the old unit entirely before installing the new jet spray.
Step 2
Open up your threaded toilet pipe or screw terminal end so that you can start inserting it into the new mixer elbow. Put a rubber washer on each side of this brass insert without screwing in screws yet. Tighten gently with an adjustable wrench just until they click together to create a smooth seal before applying more torque by using a pipe wrench.
Step 3
Apply lubricant on the brass part of the new jet spray. Slide it into the pipe, creating a smooth seal, then tighten with an adjustable wrench until you hear the click signifying a good lock in place.
Step 4
Open up your threaded toilet hose or clamp to just over the size of the old one so that the bolt can easily slide under and hold the pipe in place while replacing the rubber washer for the last time. Tighten bolts with a screwdriver, putting only slight force. You don’t want to tighten bolts as they will crack and leak fully.
Step 5
Snap-on new jet spray, making sure hose can move freely before tightening with an adjustable wrench or pipe wrench and speed nuts until it is tight enough.
Step 6
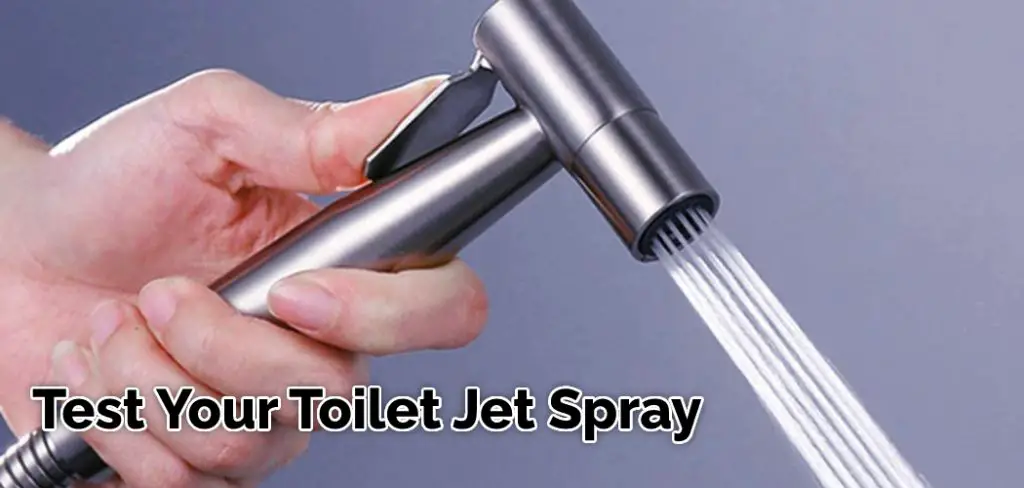
Replace the filter according to the manufacturer’s guidelines, Close threads with pliers. Fill the toilet bowl with water and test for leaks; if no leaks appear, you are done.
How Do I Know if My Toilet Is Installed Adequately With Jet Spray?
The installation of toilet jet spray is effortless; you need to turn it on and put the nozzle in the water tank. The first step will be checking if your toilet is correctly installed with jet spray by testing out some areas of your home.
You can check this by following these steps:
1. Press down on the handle of your toilet and make sure it makes a clicking sound when you release it. If not, you may have a defective handle or flapper valve assembly.
2. Check to see if there are any leaks around the base of your toilet where it meets the floor and also around other plumbing fixtures like sinks, tubs, showers, etc.
3. Test out your jets by spraying water into different parts of your bathroom (e.g., in front of the sink). To do this, turn the water on and wait for it to run for a few moments.
When you want to use your toilet pump again, just press in the handle of the tank or lever assembly (toilet) with one hand; put another finger underneath the center pivot ring and gently pull up/out. If there is still no flow when you release your finger from under the center pivot ring described above, check out other areas continually.
Benefits and Disadvantages of Installing Jet Spray in a Toilet
Benefits
There are many benefits of installing jet spray in a toilet like:
- It prevents clogging.
- It is more convenient to use and requires less work from the user.
- It saves time as it does not require manual flushing or refilling the tank with water.
Disadvantages
It can be tough to answer as everyone is different, and there isn’t one way that works for every individual. Some possible potential problems with installation could include:
Some people say this will cause water wastes. Other people may say the bathroom floods within seconds after use on the first try, or it stalls quickly or often trips their electric floats, causing them to go unplugged when jets fail (for an electrical jet flush). Also, say Jets are too small, and water wastes or it isn’t strong enough to handle large debris.
How Do You Use Jet Spray in a Toilet?
Jet spray is used to clean a toilet. It can be used in two ways:
- To clean the toilet by spraying it with water, followed by an appropriate cleaner or disinfectants like Jet-A, Clorox Clean-Up, Lysol Disinfecting Wipes, or a similar product;
- To flush the toilet using jet spray and then pour water into the bowl afterward.
FAQs
Do I Need to Buy Extra Parts to Install Jet Spray in My Toilet?
This is a common question that comes up for many people. The answer to this question is no, and you do not need to buy extra parts to install jet spray in your toilet.
However, there are some things that you should consider before installing the jet spray in your toilet.
Do You Need a Plumber to Install a Jet Spray in My Toilet?
The answer to this question is not a definite yes or no. It depends on the type of bidet you are looking for and the plumber you are working with.
However, it can be said that most people do not need a plumber to install a bidet as there are bidets available that come with their own installation kits and manuals.
Conclusion
There are mixed reviews regarding the process of installing jet-spray bidets. Some say it is easy, while others think it would require an expensive installation fee or professional assistance like a plumber to install their first one.
At the end of our discussion, you are now able to know how to install jet spray in the toilet, we’re sure you will make the right decision for your bathroom. If you have any questions, please let us know without any hesitation.
You may read also –