DIY Camping Shower Floor
Going camping is a beautiful way to take in the beauty of nature and savor the great outdoors. Why not construct a DIY shower floor to make the camping experience more enjoyable? This guide will discuss the advantages of having a DIY camping shower floor and provide comprehensive directions for making your own. Let’s get started!
During Camping, Why Is A Shower Floor Necessary?
You are having a shower floor when camping can provide a number of benefits. For one, it can help you stay clean and comfortable. It will help you keep your camping area clean, make it easier to move around and avoid getting mud or other debris on your feet.
A shower floor also reduces the risk of slipping and tripping due to wet and slippery surfaces. Although traditional public shower floors are often not the safest option, a DIY camping shower floor can be constructed using non-slip materials, significantly reducing the risks associated with wet surfaces.
In addition, Shower floors help to catch water or provide specific drainage. This means that you don’t have to worry about your shower area becoming a puddle when camping.
DIY Camping Shower Floor Ideal Size
You don’t have any size restrictions when constructing a DIY camping shower floor. Your camping shower floor can be any size as long as it doesn’tdoesn’t exceed the size of your camping shower tent. Many campers choose to build a 12×12-foot shower floor, although 24×18 feet is ideal for a more comfortable experience.
Details Guide for Building DIY Camping Shower Floor
Step 1 – Planning and Preparation
Before starting the building process, it is essential to consider the size and location of your shower floor. When considering these factors, make sure the size of the shower floor is, at most, the size of the tent, and consider what type of environment the shower will be used in.
Step 2 – Collecting Materials
Depending on the type of shower floor you’d like to make, you’ll need various items such as a hammer, nails, a Marker Pen/pencil, and measuring tape. In addition, you must take into account any excess items, such as lining fabric/plastic, to provide insulation and waterproofing.
Step 3 – Building DIY Camping Shower Floor
This step will provide instructions on building 3 different types of DIY Camping Shower Floors- wooden, bamboo, and pipe. Use your space to create the perfect shower floor for outdoor adventures.
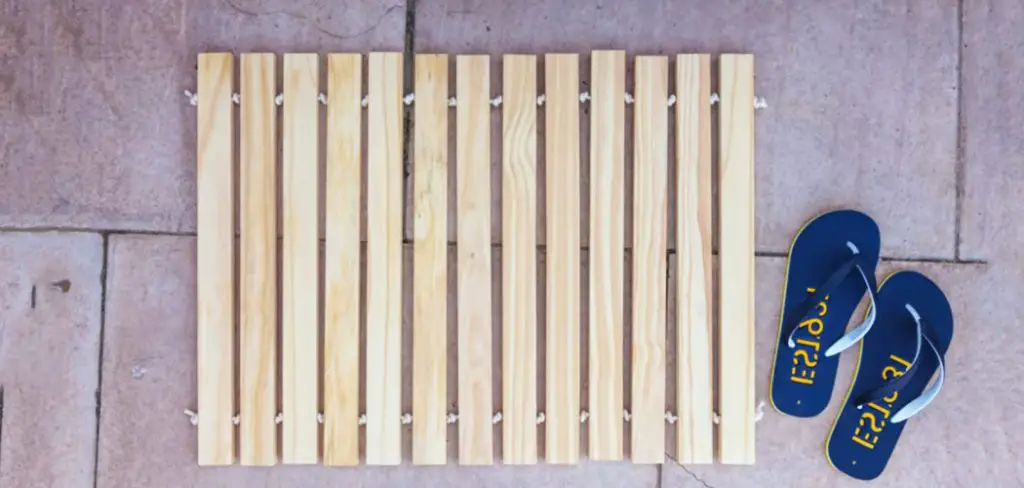
Wooden Shower Floor
- Using a measuring tape, measure the wood to the desired length (e.g., 24 inches) and mark it with a marker pen. Then, proceed to cut it.
- Keep the lower side of the wood facing upwards and put the other piece of wood sideways, leaving a gap of around half an inch between them. Make it a width of 18 inches or however much space is needed. (It will be slip resistant and allow water to flow down properly.)
- Cut 4 pieces of wood measuring 1 inch high and 1.5 inches wide to the appropriate size and design to create a frame around the aligned pieces of wood.
- Flip the big timber and place 1-inch timber below it. Attach the timbers with nails, then, by hammering from top to bottom, ensure the nail is set in place and flush when it exits from the bottom.
- Add two to three 1-inch pieces of wood to the shower floor for extra strength.
Alternatively, you can use bamboo instead of wide timbers to construct the frame of the shower floor. With this method, no need to leave a gap between the bamboo pieces. For added safety, make sure the sharp sides of the bamboo pieces are even.
Plastic & Pipe Shower Floors
Build a Plastic/fabric & Pipe Made Shower Floor for your camping shower with these steps:
- Connect four pieces of PVC pipe with a 90-degree elbow to make a square shape.
- Cut a waterproof fabric or plastic square that measures 8 inches extra than the PVC pipe square shape.
- Place the fabric or plastic border over the pipe square, and secure it with a thick thread or thin rope.
- Set the shower floor 2-3 inches above the ground.
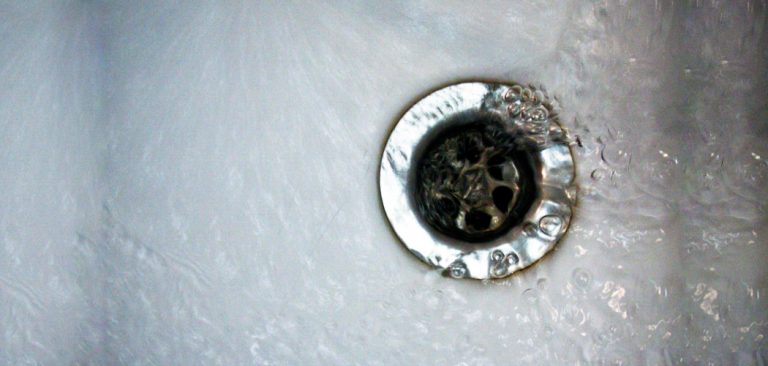
- Create drainage channels or holes if you want to drain the water.
Tips: If you want to ensure water is drained away from your Shower Floor (tray), you can create drainage channels or holes in the plastic or waterproof fabric and install a hosepipe to direct the water away.
Additional Tips for Using a DIY Camping Shower Floor
- Before utilizing the wooden Camping Shower Floor, lay it out evenly and securely so that it won’twon’t shift during the shower.
- Following use, air-dry the shower floor and stow it away; else, it will deteriorate faster.
- Once work is finished, You can separate the pipe shower floor.
Alternative Buy
You can purchase pre-made alternatives from the store if you cannot make a satisfactory DIY Camping Shower Floor that fits your needs.
Wood or Bamboo Bath Mat (Spa Shower Mat)
This shower mat is designed for light-duty use and can be made from things such as Bamboo or Teak Wood. It is easy to install and is an affordable option for a DIY camping shower floor.
Outdoor Shower Pan
Outdoor shower pans are constructed from durable and non-skid materials such as lightweight plastic and are heavy-duty. However, they cannot be folded and are quite a hassle.
Shower Awning Base
A shower awning base is becoming increasingly popular as it is easy to fold, lightweight, and can fit anywhere for carrying. It also comes with a drainage pipe for added convenience.
Final Thoughts
Now that you have the knowledge and know-how to build a DIY camping shower floor, why not give it a go on your next outdoor adventure? Enjoy the fresh air and nature in your independent camping shower so you can live life to the fullest.
If you have any questions or want to share your ideas, comment below and share this article with your friends!
Read More – How to Build a Portable Shower Trailer