How to Make Bathtub Plug
Making your bathtub plug is the perfect solution if you’re looking for an inexpensive and eco-friendly way to save water! You’ll be able to easily prevent water from draining out of your Bathtub after each use, saving both money and resources. So what are you waiting for? Let’s get started on learning how to make a bathtub plug!
Bathtub Plugs: How Do They Work?
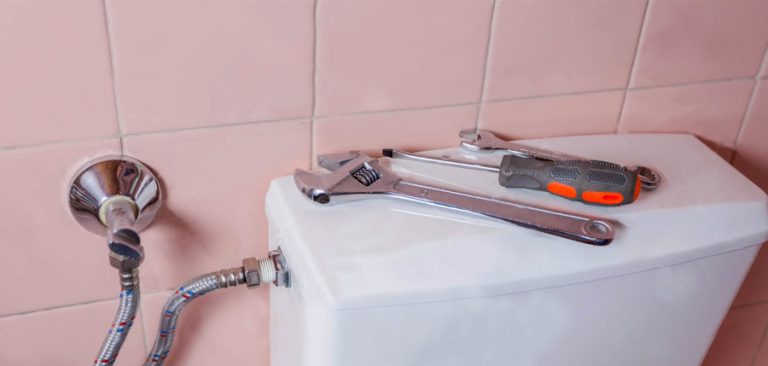
Bathtub plugs, also known as drain plugs or drain stoppers, are designed to keep water inside a bathtub, allowing you to fill the Bathtub with water for bathing.
Most bathtub plugs consist of a rubber or plastic stopper with a knob on top. To use the plug, you place it over the drain hole and push it down on the knob. This creates a seal between the stopper and the drain, preventing water from escaping.
When you’re ready to empty the tub, you lift the knob on the plug, and the stopper will pop up, allowing the water to flow through the drain.
Overall, bathtub plugs are simple and effective devices that make filling and emptying your Bathtub easy.
Benefits of Making My Bathtub Plug
Making your bathtub plug has some advantages. Below I list them.
ECO-Friendly
Creating your bathtub plug is an environmentally friendly choice, as you can use recycled or reused materials. You can reduce waste by choosing to repurpose items that would otherwise be thrown away.
Save Money
Making your bathtub plug can be more cost-effective than purchasing one from a store. You can choose readily available and affordable materials, which can save you money.
Creative Customization
If you are creative, you can use your artistic flair to give your Bathtub an even more beautiful look. You can experiment with different materials, colors and styles to create a bathtub plug that is truly unique and reflects your personality. Customizing the plug to the exact size and shape of your bathtub drain will ensure you get the perfect fit.
DIY: How to Make Bathtub Plug (2 Methods)
I was pleasantly surprised by the effectiveness of my invention – DIY Bathtub Plugs. These were created from my ideas and have proven to be successful. I am happy to share this project with you.
Use Sponge Sandal
I tried the method for a task, and it worked out better than expected. Here is an overview of the process:
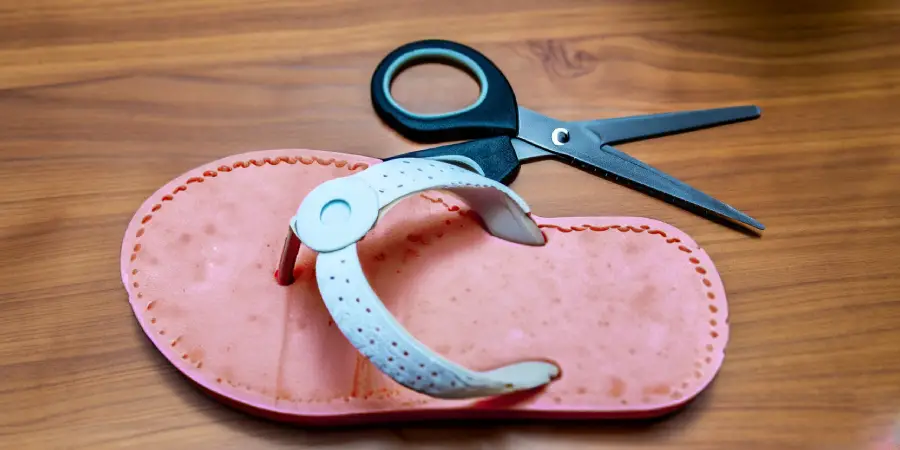
1. Measure a Bathtub Plug and Mark
Using a tape measure, measure the length and width of the bathtub drain hole. Mark these measurements on the old Sponge Sandal, and use a compass to make neat round marks.
2. Cut the Sponge Sandal
Cut around the marked area leaving a 2 mm margin with a sharp blade or anti-cutter. Keeping a space here is necessary as it allows the Sponge Sandal to be compressed and fitted into the drain hole properly.
3. Smooth the Corners (Not Necessary, Just for Beauty)
Using 180+ grit sandpaper (coarse), you can gently sand the corners of the sandal to give it a smoother finish and a more attractive shape. Be careful not to rub too hard, as this can cause the sponge to be small in size.
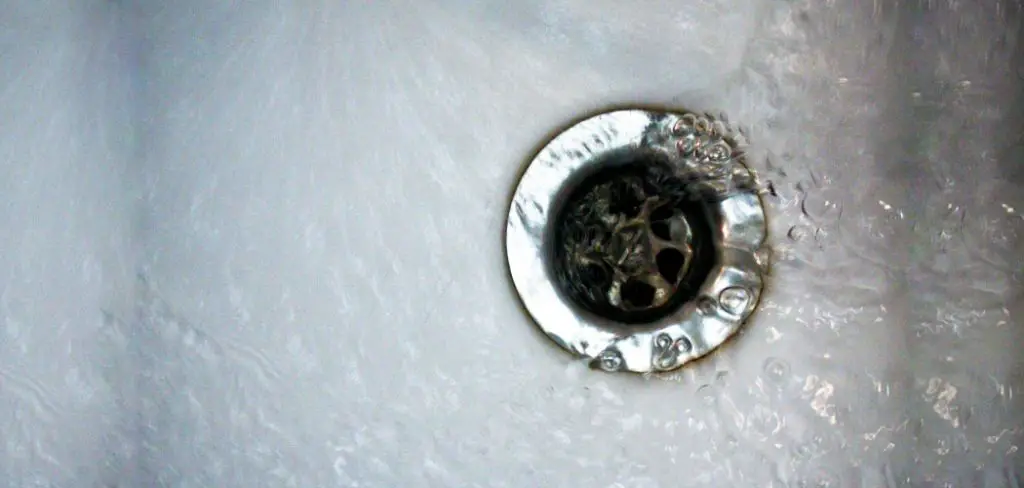
4. Place the Plug Into the Bathtub and Test for Leaks
Once the sandal is secured to the plug, place it into the drain hole and ensure it is tightly sealed. Test for any leaks by running a bit of water in the Bathtub. If there are no leaks, the DIY plug will be ready.
This method works best using a high-quality sponge sandal designed for wet environments. It should be made of a material that won’t absorb water or break down over time. The sandal should also fit the plug snugly so it doesn’t come off when used.
Use Melt plastic
Warning: This procedure involves fire and glass, so extreme caution should always be exercised.
As a child, I used to take plastic pens and melt them into light bulbs to create paperweights. This is where my idea originated. In the following, I am going to explain the process in detail.
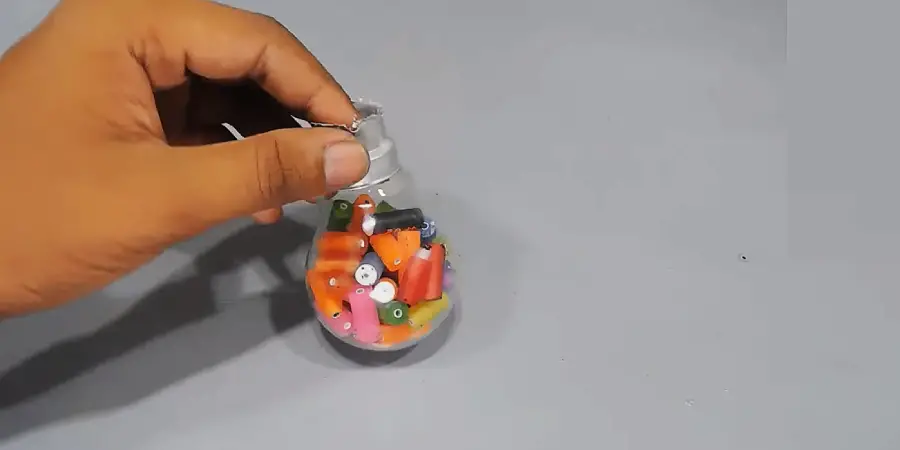
1. Collect Plastic Particles and Old Glass Jars
For an alternative to plastic pieces, you can use plastic pens (once the pen nibs have been removed). When collecting the plastic pieces and old glass jars, make sure the diameter of the glass jar is larger than the hole of the bathtub plug.
2. Prepare Fireplace
You can use a gas stove to prepare the area for a heated glass jar. Alternatively, you can create a hollow area outdoors and fill it with dry wood to make a makeshift stove. Make sure the glass jar can be placed upright.
3. Start Melting the Plastic
Place the glass jar on the fireplace and put the plastic particles inside it. Light the fire and wait for the plastic particles to melt and accumulate under the jar. Turn off the flame when all the particles have melted and allow the mixture to cool.
4. Separate the Melted Plastic From the Glass Jar
Put on protective hand gloves before proceeding. Once the glass jar has cooled, use a hammer to break it into pieces. Carefully separate the pieces of broken glass from the plastic. Now it is time to begin reducing the size of the item so that it will fit into the bathtub plug hole. The next step will provide further instructions.
5. Measurement and Marks
Carefully measure the size of the bathtub drain hole and mark it on the melted plastic. Cut off the plastic using a hex blade, leaving a little extra. Make sure to tidy it perfectly at this stage; the next step will finish it.
6. Smooth Out Shape
Using sandpaper, begin to sand down the edges of the plastic piece. As you level the plastic, constantly check that the drain hole is an even match so the plastic piece fits snugly into the hole.
7. Check DIY Plug
To check if the plastic piece is correctly made, set it in the drain hole and fill the Bathtub with water. If there is no leakage, then you have successfully created a DIY Bathtub plug.
FAQ’s
How Often Should I Replace My Homemade Bathtub Plug?
The lifespan of a homemade bathtub plug can vary depending on the materials used, how often it is used, and whether or not it is maintained correctly. With proper care, it can last for more than 1-2 years, but sandal cuttings may deteriorate more quickly.
Is It Safe to Make a Bathtub Plug?
You can make and use a DIY Bathtub plug safely with the correct methods and processes. Using any temporary methods is not recommended in this case.
Conclusion
Making your bathtub plug can be an eco-friendly and cost-effective way. With the help of this guide, you now have the knowledge and skills to make your bathtub plug. So why wait? Get creative and start making your Bathtub plug today! Remember to share this with your friends and comment below to let us know how it went.
Read More: