DIY Toilet Tank Lid Cover
The toilet tank lid cover is the most important accessory for your bathroom. Whether you have a toilet that uses a tank or one that has no tank, it is essential to keep the water in the tank from leaking out and flooding your bathroom. This article will show you to make a DIY toilet tank lid cover.
It is a very simple craft project that anyone can do. We have also given some tips on what to avoid when making toilet tank lid covers.
4 Detailed Methods on DIY Toilet Tank Lid Cover
These are the common methods that are used now-a-day worldwide. So, you can give it a try as it is really necessary for making life easier.
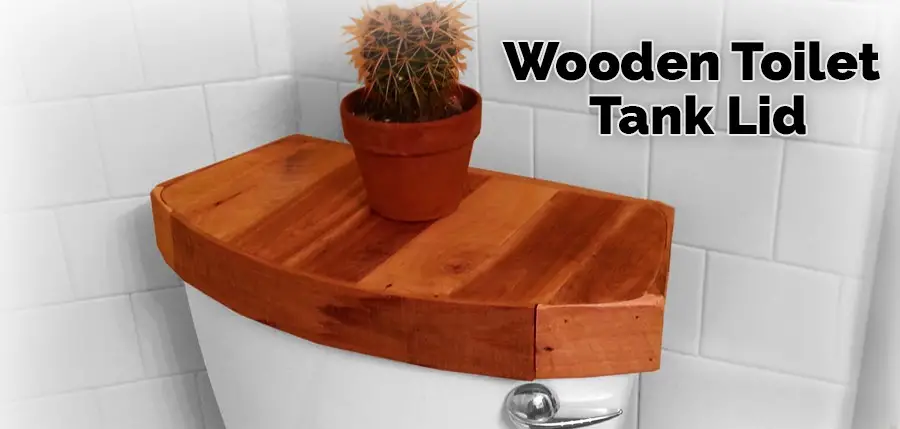
Wooden Toilet Tank Lid Cover
Step 1:
Find a hard, rectangular material that you are confident is free of any possible lead or other dangerous materials (one grade thinner than your material).
Step 2:
Cut the board to fit neatly around the toilet tank.
Step 3:
Place the wood on top of the metal lid and trace out a circle for template cutting into the lid using Dremel tool – Use band saw to cut shape in headboard against line drawn – Sand away edges with a random orbital sander remove roughness.
Step 4:
Cut a hole in the bottom of your lid – Drill only as many holes as there are screws in your toilet tank hardware -find hardware and screw hangers into the board, threads will go through sideboard- use clamps or self drill grip hex bit driver so you don’t over-torque.
Step 5:
Apply an identical layer of polyurethane sealant on every flat surface.
Step 6:
Place the toilet tank lid on top of your newly sealed sideboard and drill the number of screw holes needed onto the board.
Step 7:
Attach hardware onto the board, tighten down and redrill if needed.
Step 8:
Cut an identical piece of your material to fit the circumference of the lid- Sand using orbital sander until smooth – leave in place and sand again if required.
Step 9:
Apply a uniform layer of your sealant or finisher to the lid- Screw sideboard down, use clamps and then screws – Allow one full day for the finish to cure.
Enjoy your new wooden toilet lid!
Paper Toilet Tank Lid Cover
Step 1:
Start by measuring the width, height, and length of your toilet tank lid.
Step 2:
Construct two triangles and attach them to the cover with strong glue or adhesive tape (we recommend hot glue).
Step 3:
Cut paper into rectangles that are at least as long as wide. Now place one rectangle on top of the other and secure them together with more sticky tape down their underside corner, so they hold a tight binding while they dry; tip: boil some water and pour on a bit of the hot liquid to speed up the drying process.
Step 4:
Cover your toilet tank lid with paper rectangles until it is completely covered in brownish or greenish patterns! Now peel off the sticky tape, if any was left behind so that no rough edges are present.
Step 5:
Voila! Have a look at your finished product, and be proud of yourself for undertaking such an easy craft project with the potential to brighten up any bathroom.
Toilet tank lid cover is nothing but putting papers on top of the toilet tank while it is closed then putting some tape on those papers. But in this case, we will use glue instead of tape. Start by measuring the width, height, or length around your paper and construct two triangles with them.
Step 6:
Now attach the top of one triangle to the bottom of another, then apply a strong glue or adhesive tape on their underside corner to hold tight binding while getting dry. You can also speed up the drying process by dipping the toilet tank lid in some boiling water and letting it cool before putting paper on it.
Fabric Toilet Tank Lid Cover

Step 1:
you will need a scrap piece of inexpensive fabric that allows you to sew through it in multiple places. It should be about 10 – 12 inches squared.
Step 2:
Place the scrap fabric inside your toilet tank lid and fold over, if possible making sure there are two rectangles coming from the top with seams running down each side; so at the bottom seam, you have an opening for your water drain plug (if required), both sides of the rectangle should be even so that your tank lid sits perfectly on top.
Step 3:
You will need a metal wire. It is ideal to use stainless steel, but you can also use something else if necessary, such as a coat hanger; if this isn’t available, wrap around one side of the fabric as many times to create tension secure it underneath. At certain points, you may want longer loops rather than circles.
Step 4:
Thread your needle and start sewing in the opposite direction you made loops on what you are attaching to; allow a few inches of spare thread at each end, so when catching, it ends up on top so this isn’t nipped with those sewn stitches. If your fabric is strong enough-you may do away with the wire entirely and attach directly onto the lid using these last two steps instead.
Plastic Toilet Tank Lid Cover
Step 1:
Using a jigsaw or handsaw, cut out rectangular pieces of plastic.
Step 2:
Use the saw to make cuts along each piece’s top and bottom edges, then use a table saw to snap them off at 90-degree angles. This way you can cover over holes with any material less than 1/8″ thick.
Step 3:
Use a drill to make holes for the hinges; screw the lid on tight enough not to be removed from its place. Sometimes you have to use screws with a small head and countersink them by using pliers to hide them better.
Make sure the holes are large enough so that the screw head is not seen.
Step 4:
Use a piece of plastic and some screws to secure the hinge plate onto one hole, then use pieces of plastic and whole bolts for securing it on both sides of the lid by using threaded rods from underneath.
Step 5:
Use a power drill, screwdriver, and Dremel to make the cut-out in the lid that you desire. To prevent water stains on your newly painted surface, use a sealer before painting.
Frequently Asked Questions
Which Is Better: Disposable or Reusable Toilet Tank Lid Covers?
If you make enough toilet lids for your use, I would recommend disposable. But suppose you don’t have room for a cluttering stack of these lid covers in your small house/cozy apartment and are going to be using them only occasionally. In that case, reusable may fit what is needed more accurately.
Is There Any Difference Between Plastic and Ceramic Toilet Tank Lid Covers?
They are pretty similar, except that ceramic can be heated up on the stove, and plastic cannot. There are no issues with me removing my ceramic lid and putting on a plastic one; the holes line up snugly. For delicate pots that might break around the edge of such lids, I recommend using a cord or yarn to tie them in place across each side so they don’t come loose while you are using it.
Conclusion
You need to do it carefully and be happy with the result. We are sure that your friends will also like it. You can do this if you want to save money and make your toilet tank lid cover as good as new.
Once you have finished making your new DIY toilet tank lid cover, don’t forget to let us know in the comments below.
You may read also –