DIY Shower Phone Holder
Different designs of Waterproof Shower Phone Holders can be found in the market, but if you have a creative mindset, you might be particularly excited about engaging in DIY projects. In this article, I will share some innovative ideas and step-by-step instructions to create your very own shower phone holder. So, let’s dive right in and get started!
DIY Shower Phone Holder Ideas
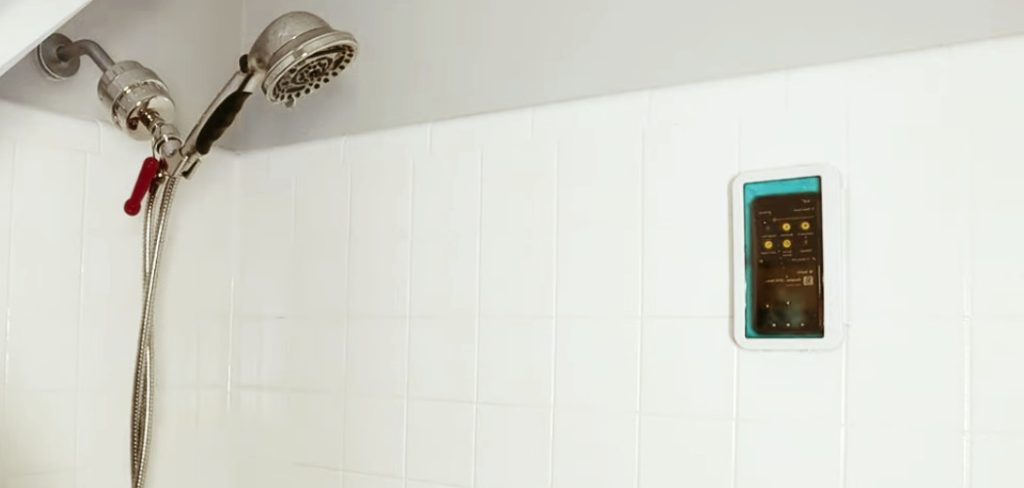
If you’re tired of having a dull time in the shower and want to keep your mobile device as your entertaining companion, creating a phone holder specifically for shower use is a perfect solution.
With this DIY project, you can conveniently position your phone within sight, allowing you to enjoy shower time while watching videos, checking messages, or staying updated with notifications. Let’s delve into some creative ideas below that will enable you to craft a functional shower phone holder and enhance your showering experience. Let’s get started!
1. Zipper Poly Bag
The first idea is both cost-effective and highly efficient. It doesn’t require much creativity to implement either. All you need is a Zipper Poly Bag to serve as the phone holder. Place your mobile device inside the bag and hang it on a hook within your shower area. You can use an adhesive strip to attach it to the wall for added enhancement securely. This straightforward approach ensures that your phone remains protected while allowing you to view its display conveniently.
2. Wooden Phone Holder
Crafting a wooden phone holder is a highly creative and practical endeavor. Let me guide you through the step-by-step instructions to make your own wooden phone holder for the shower:
- Ensure you choose wood that can withstand exposure to water without any issues. Teak, cedar, or marine-grade plywood are excellent choices.
- Measure the dimensions of your mobile phone, and opt for a 1cm thick wood plank. This thickness provides stability and durability to the holder.
- Cut the main wood piece, making it 3 cm larger in width than your mobile phone. For the length, cut it according to your specific requirements.
- Cut three more pieces of wood, leaving an extra 1/2 cm thick compared to your mobile. Use glue to attach these wooden pieces to the main wood plank, forming a border on two sides and the bottom to hold the phone securely.
- To protect your phone from water splashes, attach a piece of clear plastic on the front side of the holder using glue. This plastic barrier ensures your phone’s display remains visible and shielded from water exposure.
Create a versatile and visually appealing wooden phone holder by following these instructions. Hang it anywhere using twine or wire, making it a convenient addition to your shower or other desired spots—Polish and paint for a stylish and personalized accessory.
3. Old Rubber Phone Case
The idea of repurposing an old phone case as a mobile holder originated in my mind. While it may not provide waterproof capabilities, it offers a simple way to create a sturdy phone holder. Here’s how you can proceed:
- Obtain a good-quality adhesive strip and affix it to the back of the phone case in two parallel rows.
- Choose a phone case with a rubber or flexible material as it allows for easy insertion and secure mobile phone holding.
- Position the phone case on the wall, ensuring the adhesive strips adhere firmly.
- Once correctly set, you can comfortably insert your mobile phone into the case, and done!
Making A Holder That Only Holds A Phone (You Can’t Watch Display)
Create a simple and practical phone holder for your shower without the need to watch the display. Use a cloth, plastic bottles, soap dish holders, old toothbrush holders, or bathroom shelves/caddies. These ideas offer functionality and convenience, ensuring your phone remains accessible and secure while you shower.
Essential Considerations For A Secure DIY Shower Phone Holder
Waterproof and Moisture-Resistant Materials
Select waterproof or moisture-resistant materials to protect your phone from potential water damage during showers.
Stability and Durability
Ensure the holder is stable and durable enough to support the weight of your phone. Use strong adhesives, hooks, or screws to secure the holder to the shower wall or curtain rod.
Easy Access
Make sure your phone is easily accessible in the holder, allowing you to reach it comfortably without straining or risking slipping.
Adequate Phone Fit
The holder should snugly accommodate your phone’s size and shape to prevent it from slipping or falling out.
Always prioritize safety and be cautious when using DIY phone holders in the shower. If you need more clarification about the stability of the holder or potential risks, consider using commercially available, purpose-built waterproof phone holders designed explicitly for shower use.
FAQ
Can I Decorate The Phone Holder To Match My Bathroom Decor?
Absolutely! Decorating your DIY shower phone holder to match your bathroom decor is fantastic. Since you are the creator, the beauty of the decoration is entirely in your hands. You have the creative freedom to customize the phone holder with colors or any other means that align with your bathroom’s aesthetic.
Conclusion
Now it’s your turn! We’d love to hear about your experience with the DIY shower phone holder. Share your creative ideas, photos, and tips in the comments section below. If you found this article helpful, remember to share it with your friends so they can embark on this fun and practical DIY project.
Let’s make shower time an enjoyable experience with our personalized and functional phone holders!
You may read also – Shower Rod Alternatives