
How To Frame A Bathroom Mirror With Metal Clips
Hey there! Recently, I had this excellent opportunity to help my friend upgrade his bathroom, and one of the most incredible things we did was framing his mirror. We wanted a simple, budget-friendly solution that still looked stylish, and that’s when we came across the brilliant idea of using metal clips. I have to tell you, and it was a game-changer!
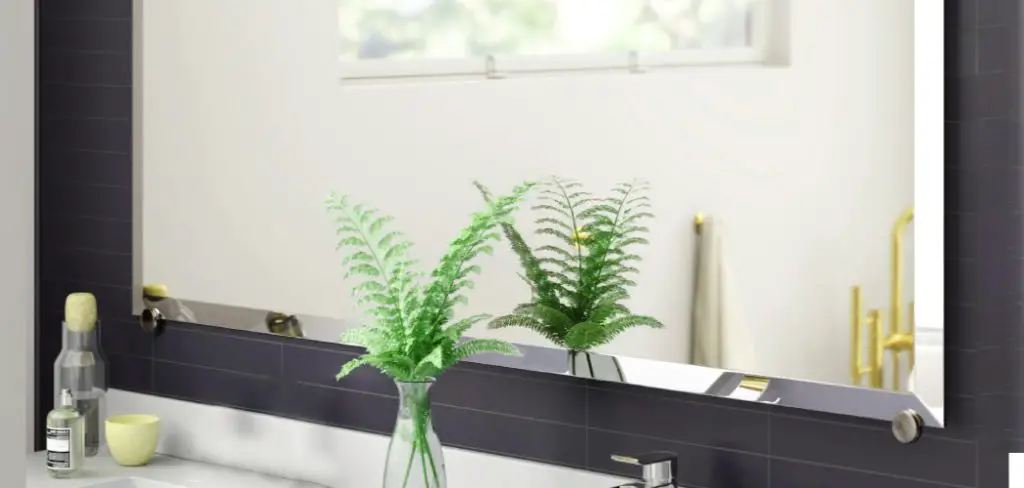
So, join me as I share our journey of framing a bathroom mirror with metal clips – the ups, downs, and all the fun moments. Let’s dive right in and get creative!
Discover 2 Types of Metal Clips for Bathroom Frames
During our research, we came across two types of metal clips that were suitable for our mirror:
1. Offset Metal Clip
This Clip, known as Metal Mirror Support Hanger, is a versatile mirror framing option. With channel sizes ranging from 1/4″ to 3/8″, choosing the right size depends on the mirror’s shape and thickness.
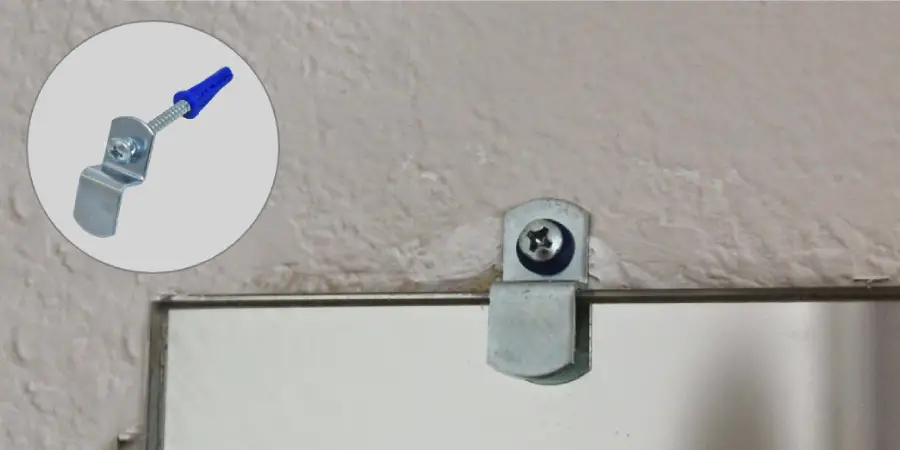
These clips come in single, double, and triple screw-hole configurations, ensuring a secure and stable mount. Their cost-effectiveness sets them apart; they are available at a budget-friendly price.
2. J-Shaped Metal Clip
This Metal Clip caught our attention for its simplicity and cleverly hidden screws. We discovered two options within this category: the Wide Channel Mirror Clip and the Channel Round Lip Mirror Clip.

However, it’s worth noting that these J-Shaped Metal Clips are relatively more expensive compared to other framing options. Despite the higher cost, their elegant design and screw concealment feature makes them an attractive choice.
After careful consideration, we decided to go with the J-Shaped Metal Clip. We were impressed by its sleek appearance, and the fact is that its screws were not visible from the outside. The mirror’s easy installation and removal feature added to its appeal, making it a reliable choice for us. Combined with all these factors, we made the proper selection to frame our mirror perfectly.
Factors to Consider When Choosing Metal Clips
Being selective about metal clips is a positive approach when not compromising on decor. The process of choosing a metal clip requires careful consideration, and I believe it’s essential to pay attention to the following aspects:
Mirror Weight
Consider the weight of the mirror that the metal clip will support. Ensure that the clip can securely hold the mirror without any risk of falling or becoming unstable.
Weight Capacity of Metal Clip
Assess the weight capacity of the metal clip itself. When assessing the weight capacity of a metal clip, it is advisable to refer to online resources to determine the specific weight limit for the particular type and size of the clip you are considering.
As numerous types of metal clips are available, referring to a particular chart may have confused due to the variations in weight capacities.
Proper Placement of Clips
When installing metal clips on a mirror, it is essential to ensure proper placement. Considering the mirror’s size, position the clips approximately 3 to 5 inches away from each corner.
If required, use more than two clips, and distribute them downward to distribute the load evenly. You can securely mount the mirror and maintain its stability and balance by adhering to these guidelines.
Mirror Alignment
During mirror installation, it is crucial to avoid misalignment, which can result in a tilted mirror. Utilize appropriate tools to maintain a level position and take measurements carefully and deliberately to ensure accuracy.
Step-by-Step Guide To Frame A Bathroom Mirror With Metal Clips
Step 1 – Gathering Materials and Tools
Before you begin, gather all the necessary materials and tools. You’ll need:
- Drill
- Screwdriver
- Leveler
- Metal clips (designed for securing mirrors)
- Pencil or Marker
Step 2 – Choose the Mirror Place
Selecting the ideal location for your mirror holds significant importance. Typically, positioning the mirror opposite to a light source or natural sunlight is recommended. Take the mirror in your hand and hold it up at the chosen spot, ensuring it complements the overall decoration of that area.
This step will help you gauge how well the mirror blends with the surroundings.
Step 3 – Measure the Mirror & mark
Position the mirror precisely in the designated place and use a leveler to ensure it is perfect and straight. Take your time to level the mirror accurately. Once it’s aligned correctly, proceed to carefully mark the outline of the mirror using a marker or pencil.
Step 4 – Mark Metal Clip Place
To begin, evenly position the metal clips along the marked area on the back of the mirror. Please make sure they align with the marks you made earlier. For optimal support, it’s recommended to position the clips approximately 3 to 5 inches away from each corner, considering the mirror’s size.
Once the clips are in their designated spots, mark the exact positions where the screws should be drilled to secure the clips.
Step 5 – Drilling & Creating Holes
Now, take a screw-size drill bit and carefully drill holes at the marked positions for the metal clips. Ensure that the size of the holes matches the height of the screws you will be using.
Taking your time and using steady hands during this step will ensure that the holes are accurate, aligned, and sized adequately for a secure attachment of the metal clips.
Be cautious not to drill too deep to avoid damaging the mirror surface or the wall behind it.
Step 6 – Installing the Metal Clips
Wall screw anchors usually come included with mirror metal clips. However, you may need to purchase them separately if they are not provided. Once the wall screw anchors are ready, insert them into the drilled holes you created earlier.
With the anchors in place, position the metal clips over them and tighten them securely with screws.
For optimal alignment, make sure to tighten the lower metal clips firmly. As for the upper metal clips, leave the screws slightly loose.
Step 7 – Attaching the Frame to the Mirror
Next, gently lift the upper metal clips upwards to create enough space to pass the mirror between them from either side. Carefully slide the mirror into place, ensuring it fits snugly between the metal clips. Once the mirror is in position, gently shake it to check if it sits securely.
If everything looks fine and the mirror remains stable, then congratulations, your installation job is complete!
FAQ’s
Can I Frame A Mirror With Metal Clips If It’s A Large And Heavy Mirror?
You can frame a large and heavy mirror with metal clips, but it’s essential to use appropriately sized and sturdy metal clips that can handle the mirror’s weight.
Can I Use Adhesive Instead Of Screws To Attach The Metal Clips To The Mirror?
No, using adhesive alone to attach metal clips to a mirror is not recommended. Adhesive alone may not provide enough strength and stability to securely hold the weight of the mirror and frame.
Over time, the adhesive may weaken, making the mirror and frame loose or falling off, which can be hazardous.
Should I Hire A Professional To Frame The Mirror, Or Is It A DIY-Friendly Project?
Framing a mirror is a fairly straightforward task that can be accomplished confidently. However, if you need more confidence or are unsure of the process, consider seeking professional help for the project.
Conclusion
My friend and I successfully framed our bathroom mirror using metal clips, and I shared this authentic experience with you. We hope that you find our story helpful and inspiring. If you have any questions or need further assistance, please feel free to ask in the article’s comment section. We’d be more than happy to help.
Remember to share this frameless mirror idea with your acquaintances; we believe they’ll appreciate it and find it useful as well. Thank you for reading!
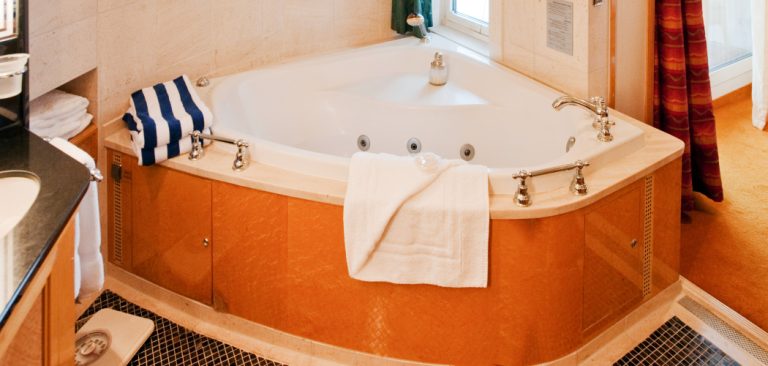
You may read also – How to Decorate Around a Jacuzzi Tub


Thanks for wonderful info I was looking for this information for my mission.
You’re welcome