How to Fix a Bathtub That is Not Level
Yes, bathtub level misalignment is an annoying issue.
I have also been suffering from the problem for a while. Since ToityGO blogs about such topics, I realize this problem is unacceptable in my bathroom.
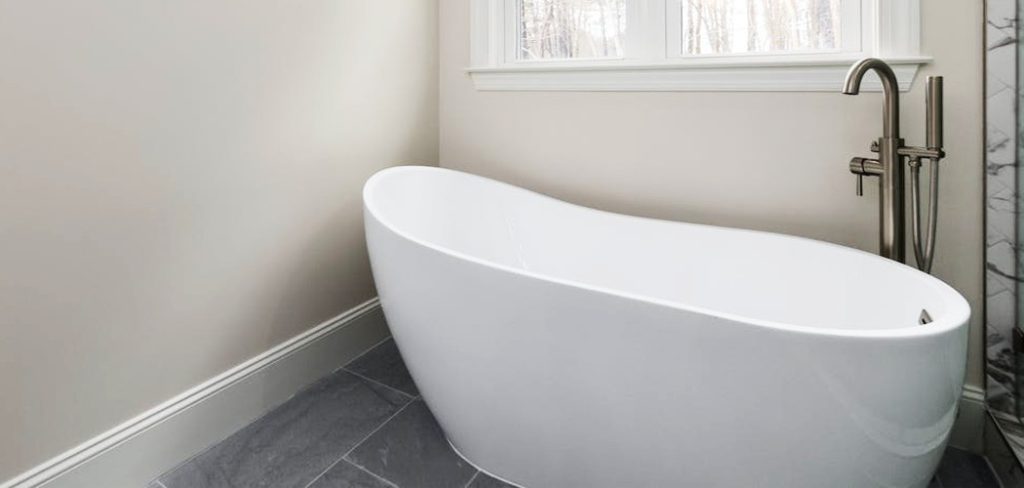
With some experience, I am sharing how to fix bathtubs that are not level.
Why is My Bathtub Not Level
Due to the variety of bathtubs, the problems are not the same. The bathtub can be unlevel for many reasons.
The most common reason is that the floor underneath the tub is not level. It can be due to some things, such as the house settling over time or the floor being uneven when the house was built.
Another possibility is that the tub was not installed correctly and is not level with the surrounding floor. Or the structure may become weak due to improper installation.
Tub malfunctions are rare, but they can happen. So before giving up, check that the bathtub size is balanced. This must be done for local products.
What Happens if a Bathtub is Not Level
You may think it is a small matter. As a bathroom decor lover, this makes me uncomfortable. I would definitely like to fix this.
Drain Not Properly
If water accumulates at the bottom of the bathtub, water stains and mold may appear there.
Water Runs Out of the Tub
When you fill the tub, one side will be empty, and the other will overflow. If you fill the bathtub with water, its level can be understood well.
Forced to Install
A bathtub may have to be forced into place when the structure isn’t level, and there isn’t extra Space. Stress can cause the tub to bake slightly or crack quickly.
Uncomfortable to Use
If it tilts slightly to one side while using the bathtub, you may feel discomfort. And while you already know the bathtub isn’t level, it will keep nagging at you.
Effect on Decor
When decorating, we decorate the bathroom according to our preferences. Defective surface decoration of the bathtub can affect it. A poor thing is the first to be noticed among all perfect things.
Guide to Fix a Bathtub That is Not Level
Problem 1 – Level New Bathtub
When installing a new bathtub, there is an opportunity to check the level in every step. If there is a problem with the installation, the bathtub level starts to go bad within 1-2 days.
I will not talk about the whole bathtub installation here; you will find those processes on other websites. I will mention the things that need to be kept in mind to keep the level right.
1. Use Levels Tools in Every Measurement:
Before installing the bathtub, ensure that the floor is level. Use Levels Tools for every structure creation step. Check with Levels Tools before and after screwing.
2. Install on the Wall:
Easy to install bathtub level on cement wall or board wall, anywhere you can use screw, glue, chalk.
However, a long plank of wood should be nailed to the wood (before the board is installed) so it will act as a wall for easy installation.
3. Structure Level Check:
If the bathtub is to be placed entirely on a structure, check the level of the system first. Rebuild the design if necessary. Do not use any wood or metal shims to support the plan. It will work as a temporary solution only.
Problem 2 – Level an Already Settled Bathtub
Older bathtubs are less prone to these types of problems. However, the bathtub level can deteriorate due to various reasons, such as flooring (especially wood flooring) and structural defects.
The Floor is Not Level:
If there is a problem with the floor, the first thing to do is to fix the problem with the floor. Otherwise, move the bathtub to another location. A temporary solution can be used using shims supports.
Or, Cement Mortar can bring you the solution. You can level the bathtub by following some simple steps.
- Properly mix Cement Mortar thinly,
- Make a border with long wood where you want to level the part of the floor so that the Cement Mortar does not run out.
- Pour cement mortar mixer 1″ inch thick inside the wooden border.
- Spread the mixers evenly with a trowel and ensure it is level with the ruler level tool. (Wipe the tool after use, before the mortar on it dries)
- Then, with the help of a person, place the bathtub on the mixer and check with a level tool that it is level. If it is level, leave it like this. If not, try to level it with some mortar in the lower area.
- Within 1 day, the mixer will harden, and your bathtub will be level.
After you pour and harden the mortar mixer, you can place the bathtub structure on it. Here you need to ensure the level of the mixer first.
Structure or Frame Defect:
If there is a problem with the structure, you can plan to install it again. However, it is costly.
Or the defect in the structure is often repairable. It needs to be fixed.
Or, follow the Cement Mortar method above.
Conclusion
You may be relieved now.
In your experience, I am interested to know what problems you have faced in solving this.
You can use this website email (toitygo@gmail.com) to share your story. Or you can mention it through comments.
Thanks for reading the whole article.
You may read also – How Are Freestanding Tubs Secured to the Floor