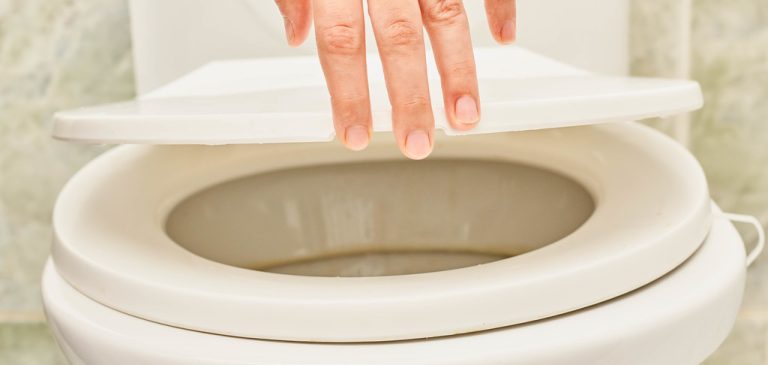
Installing Toilet Flange on Plywood
Installing a toilet flange on Plywood doesn’t have to be daunting. With a few simple steps and the right tools, you’ll be able to complete this project in no time.
Whether you’re a DIY enthusiast or a beginner looking to tackle a plumbing project, this guide will walk you through all the steps needed to install your toilet flange on Plywood. So please put on your work gloves, and let’s get started!
Step-by-step Guide to Install a Toilet Flange on Plywood
Installing a toilet flange on Plywood requires some essential tools and is a relatively easy project. Here’s the step-by-step guide to help you through the Process!
Tools Needed:
- Pipe Cutting saw (Ex. Reciprocating saw)
- Drill (With wood twist drill bit)
- Screw Driver
- Hammer
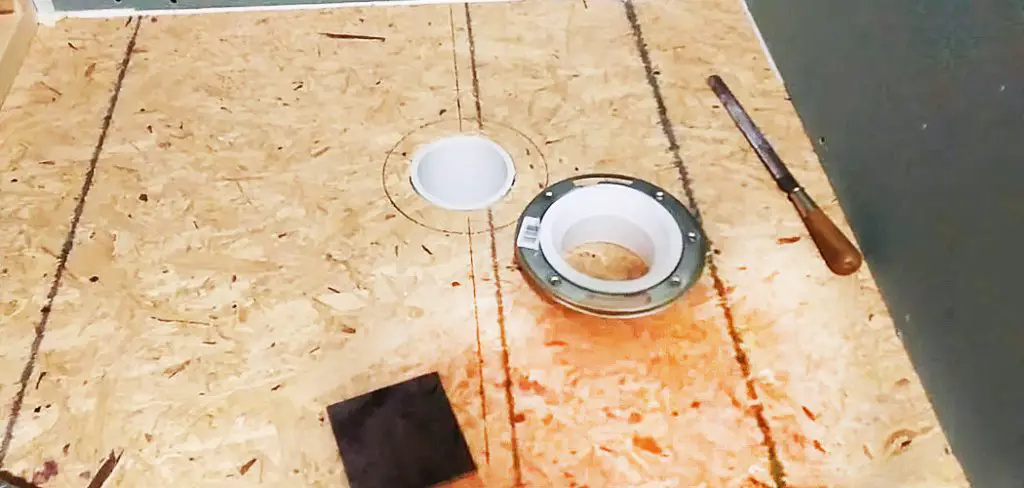
1. Cut the Pipe at the Plywood Floor Level
To ensure that the new toilet flange is appropriately positioned, you will need to cut the waste pipe so that it is at the same level as the plywood floor. Use a saw specifically designed for cutting lines to do this.
The optimal measurement for the toilet flange should be 1/4 inch height from the Plywood.
2. Mark and Drill
Next, place the toilet flange on the pipe and mark it with a marker at the screw setting hole. Then remove the flange and use a wood twist drill bit (⅜ inch) to make a hole at the marked location.
3. Placed the Screws
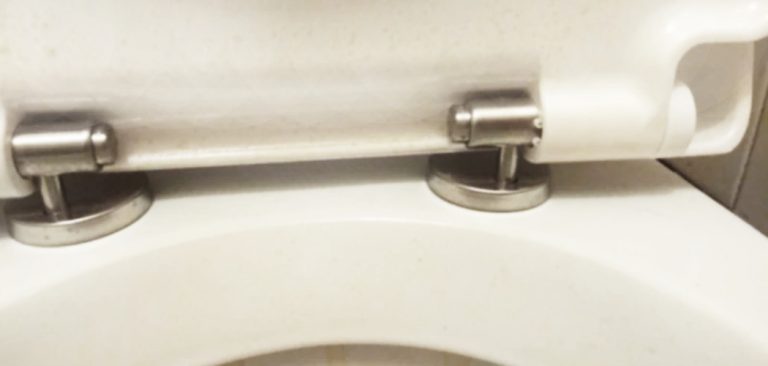
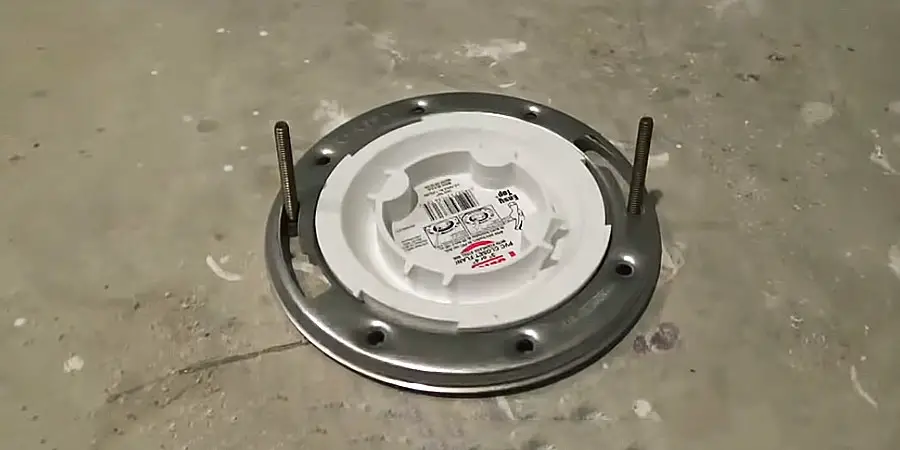
To secure the flange to the Plywood, place the screws in the pre-drilled holes. If you are using self-drilling screws, you can skip the drilling process. Then place the flange bolt vertically between the two slots, put on the washer, and then the nut.
4. Check
After tapping the flange gently with a hammer, check the screws and tighten them if they are loose. Give the flange a shake to make sure it’s firmly in place. If it doesn’t move, then the installation process is complete.
If You’re an Existing Toilet Flange on Plywood (Remove Process)
1. First, Clean
Disconnect the water supply to the toilet and remove the bathroom from the flange. Clean the area thoroughly, especially removing the wax ring.
Helpful Related Articles – How to Soften Toilet Wax Ring
2. Take Out Bolts and Screws
Take out the flange bolts and screws that secure the toilet flange. If these bolts are rusted, you may have difficulty removing them.
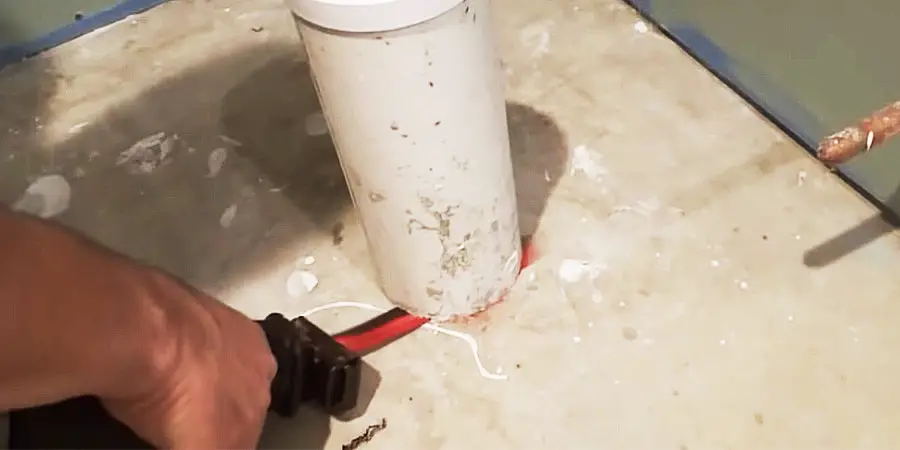
3. Remove the Old Toilet Flange
If the toilet flange is stuck in place due to long-term use, it may come off slowly. To try and remove it, apply pressure with a hammer and chisel or flat screwdriver to the flange.
& you are Done.
FAQ’s
How Do I Know When the Toilet Flange is Installed Correctly?
When the toilet flange is installed correctly, it should not move or shift when pressure is applied. Additionally, the toilet bowl should sit evenly on the flange.
If the bowl is not sitting evenly, it could be a sign that the flange is not installed correctly. In this case, you will need to check the bolts and screws to make sure they are tight and secure.
What Are the Dangers of Not Correctly Installing a Toilet Flange?
Not installing the toilet flange securely on Plywood can lead to a variety of issues, such as the flange breaking or cracking, water leaks that can damage the Plywood, and a buildup of odors in the bathroom.
What Kind of Toilet Flange Should I Use for Plywood?
When selecting a toilet flange to install on Plywood, you must conveniently choose an option from several options. PVC or ABS Toilet Flanges are both lightweight and affordable.
Cast Iron Toilet Flanges are more heavy-duty and suitable for high-traffic areas. On the other hand, Brass Toilet Flanges offer durability and an elegant look. All materials and mechanisms work the same way, so you can pick whichever type works best for your needs.
Is Glue Required for the Toilet Flange Installation?
No, you do not need any glue to install a toilet flange on Plywood. Self-drilling screws and bolts should be enough to secure the flange in place.
But, If you cannot use any screws to secure the toilet flange in place, you can use glue instead. However, this may make it difficult to separate the toilet flange from the waste pipe in the future, and you may have to cut the pipe further.
Conclusion
By following the simple steps outlined in this guide, you’ll be able to complete this project efficiently. So, don’t wait to get started on your project today! And if you found this guide helpful, remember to comment and share it with your friends.