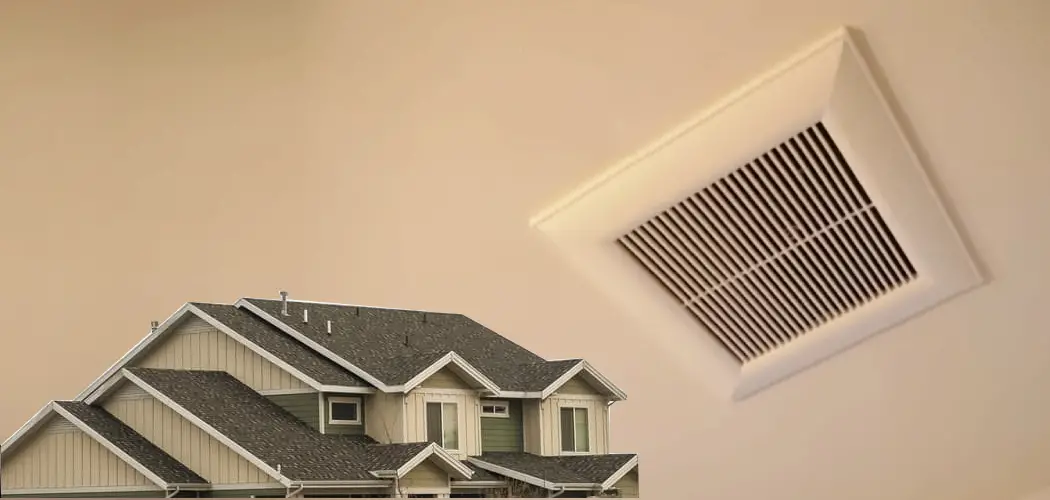
How to Vent Bathroom Fan Through Gable
A bathroom without proper ventilation quickly develops foggy mirrors, peeling paint, and even mold growth. Installing a bathroom exhaust fan that vents through a gable wall is one of the most effective solutions.
This guide explains how to vent a bathroom fan through a gable safely and correctly, covering building codes, installation steps, technical specifications, costs, troubleshooting, and alternatives.
⚠️ Important: Always check local building codes and the manufacturer’s installation manual before starting. Codes vary by location, and manufacturer requirements take precedence. When in doubt, consult a licensed professional.
Safety and Code Compliance
Bathroom fan installation involves both electrical and ventilation work. Improper setup can create fire hazards, moisture damage, or code violations.
- Permits and inspections: Many areas require a permit for fan installation. Check with your local building department.
- Building codes: Codes specify duct sizes, vent placement, electrical requirements, and minimum fan capacity.
- NEC standards: Current National Electrical Code (NEC) often requires:
- GFCI protection for all bathroom electrical circuits (not just near water).
- Dedicated 20-amp circuits in newer construction.
- Safety precautions:
- Use stable lighting in the attic.
- Walk only on joists—never on drywall.
- Wear gloves, goggles, and a mask when handling insulation.
- Maintain required clearances from combustible materials.
- Shut off the power at the breaker before any wiring work.
- For exterior ladder work, secure the ladder on level ground.
Technical Specifications
1. Correct Fan Sizing (CFM Requirements)
Bathroom fan capacity is measured in CFM (cubic feet per minute).
- General rule (HVI/ASHRAE standard):
- 1 CFM per square foot of bathroom floor area (up to 100 sq. ft.)
- Minimum 50 CFM required, even for very small bathrooms
- Additional fixtures:
- Add 50 CFM for each enclosed toilet, jetted tub, or similar fixture
- Example:
- 80 sq. ft. bathroom = 80 CFM
- 80 sq. ft. bathroom with an enclosed toilet = 130 CFM (80 + 50)
2. Duct Sizing and Run Lengths
- 4-inch ducts: Acceptable only for small fans (under ~80 CFM) with short runs.
- 6-inch ducts: Required for most modern fans rated 100+ CFM. Many manufacturers explicitly require 6-inch ducts to meet performance specs.
- Run length: Keep ducts as short and straight as possible. Long runs or multiple elbows reduce airflow.
3. Fan Placement
- Place the fan near the shower or tub, where moisture is heaviest.
- Avoid locations blocked by doors or far from air return paths.
- Codes don’t specify exact distances from walls; focus on airflow efficiency, not arbitrary spacing.
4. Backdraft Damper
Always install a backdraft damper in the vent cap. It prevents outside air, pests, and odors from entering the bathroom.
Installation Steps: A Detailed Walkthrough
Installing a bathroom fan requires patience, planning, and attention to safety. Below is a step-by-step process that balances technical accuracy with practical tips homeowners can follow:
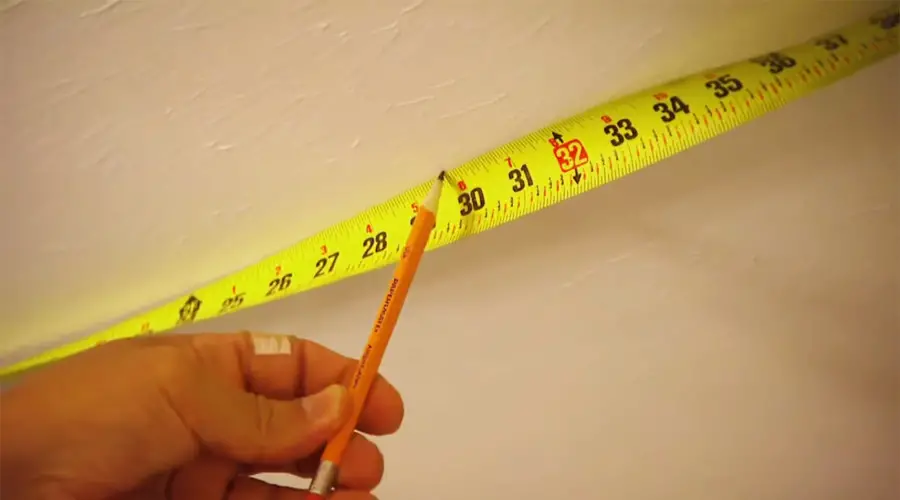
1. Plan the Venting Route
- Identify the best exit point for the duct — roof, wall, or soffit.
- Measure the distance to ensure the duct run is as short and straight as possible. Every bend reduces airflow efficiency.
- Check attic or crawlspace access to confirm there are no major obstructions like plumbing stacks, electrical wiring, or structural beams.
2. Choose the Right Fan and Materials
- Match fan size (CFM rating) to bathroom size and fixture count. Use 1 CFM per square foot as a starting point, but add 50 CFM for enclosed toilets or extra fixtures.
- Select ducting according to the manufacturer’s specifications. Many modern fans require 6-inch ducts for full performance, even if older systems used 4-inch.
- Gather materials: fan unit, insulated duct, backdraft damper, vent cap, vapor barrier tape, caulking, and electrical supplies.
3. Prepare the Installation Area
- Shut off power at the breaker panel before starting electrical work.
- Mark the ceiling location for the fan. Optimal placement is near the shower or toilet but not directly over a tub (unless rated for wet locations).
- Ensure joist spacing can accommodate the fan housing. If not, install support braces.
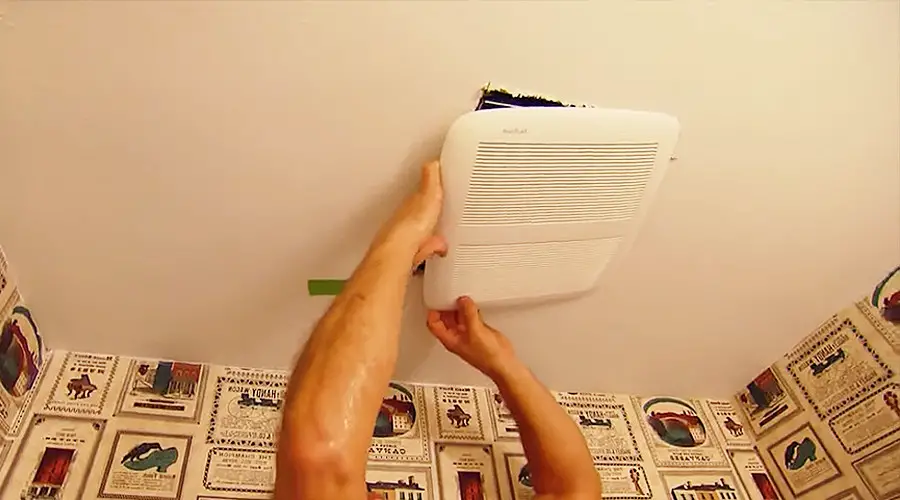
4. Cut and Install the Fan Housing
- Cut the ceiling opening using the fan’s template. Use a drywall saw or oscillating tool for clean edges.
- Mount the fan housing securely to ceiling joists or support brackets. Proper fastening prevents vibrations and noise later.
- Check clearance around insulation to avoid blocking airflow or creating fire hazards.

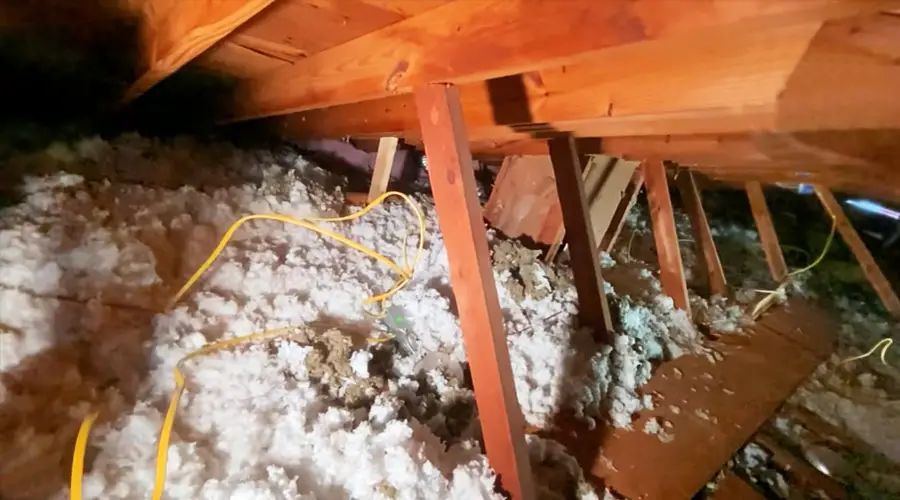
5. Run the Ductwork
- Attach the duct to the fan outlet with foil tape and a clamp — avoid duct tape, which degrades over time.
- Route the duct toward the exit point, keeping runs as short and straight as possible.
- Seal every joint with foil tape and mastic to prevent air leaks.
- In cold climates, use insulated ducting or wrap ducts with insulation sleeves to prevent condensation and ice buildup.
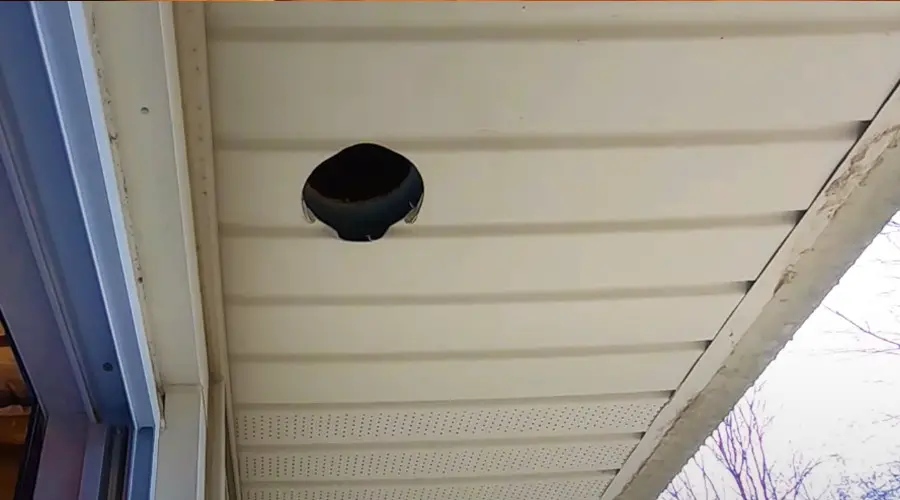
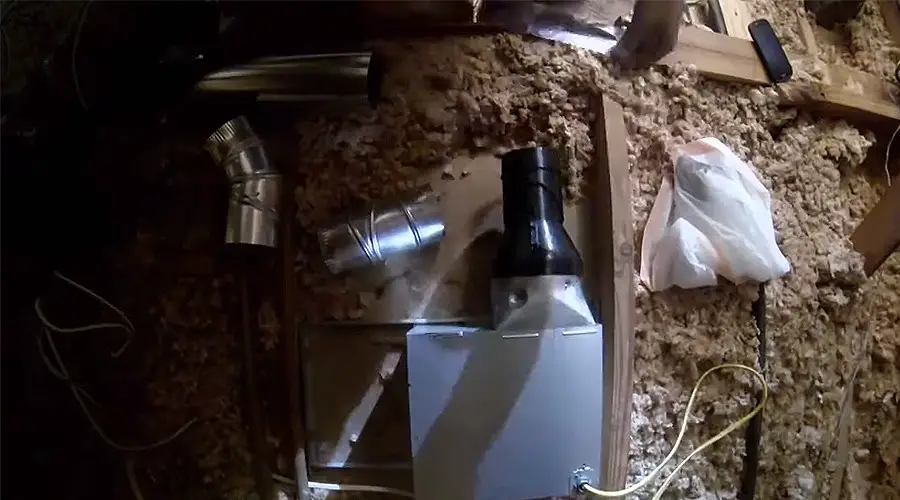
6. Install the Exterior Vent
- Cut an opening in the roof, wall, or soffit for the vent cap.
- Apply flashing and caulking around the vent to keep it watertight.
- Secure the vent cap with screws and seal edges to prevent moisture intrusion.
- Install a backdraft damper if not already included to stop cold air and pests from entering.
7. Wire the Fan Safely
- Follow the manufacturer’s wiring diagram. Typical connections include hot (black), neutral (white), and ground (green or bare).
- Bathroom fans often require GFCI protection, and some codes mandate a dedicated circuit.
- Consider installing advanced controls like a timer switch or humidity sensor for automatic operation.
8. Test and Finalize
- Restore power and turn on the fan to check airflow at the exterior vent.
- Listen for rattles, vibrations, or excessive noise — these often indicate loose connections or improper mounting.
- Seal the ceiling trim around the fan with caulk or the included grille for a finished appearance.
9. Post-Installation Tips
- Run the fan for at least 20 minutes after showers to clear humidity.
- Inspect the vent outlet seasonally to ensure it is free of debris, ice, or nests.
- Clean the fan grille and motor annually to maintain performance.
Installation Considerations
- Insulation: Wrap ducts with insulation to prevent condensation and freezing in cold climates.
- Vapor barriers: Seal fan housing edges to prevent warm, moist air from escaping into the attic.
- Obstructions: If joists, wiring, or plumbing block your planned location, adjust placement or use a remodeler fan model.
- Fire safety: Keep required clearance from insulation and other combustibles.
Cost and Planning
- Fan cost: $70–$250 (basic to high-end models)
- Duct and vent materials: $40–$80
- Electrical supplies: $25–$60
- DIY total: $150–$400
- Professional install: $300–$800+
Time estimate:
- DIY: 4–6 hours (if attic access is easy)
- Professional: 2–3 hours
When to call a pro:
- Complicated duct runs
- Electrical circuit upgrades
- Limited attic access
Maintenance and Troubleshooting
- Noise: Loose mounts, unbalanced fans, or old bearings.
- Poor airflow: Crushed ducts, excessive bends, or clogged vent cover.
- Condensation/ice: Insulate ducts and ensure slope toward the vent outlet.
- Replacement: Most fans last 10–15 years. Upgrade if performance drops.
Alternative Venting Options
- Roof venting: Common, but requires roof penetration and flashing.
- Soffit venting: Possible, but risks moisture re-entering the attic.
- Wall venting: Good option if the bathroom is on an exterior wall.
- Passive ventilation: Windows help but are not reliable year-round.
- Whole-house systems (HRV/ERV): Provide continuous balanced ventilation in energy-efficient homes.
Conclusion
Venting a bathroom fan through a gable is an effective way to protect your bathroom and attic from moisture damage. To ensure long-term performance:
- Choose the right fan size (follow HVI standards, not just simple rules).
- Use the correct duct size and keep runs short.
- Insulate ducts and seal all joints.
- Follow NEC and local building codes for electrical work.
- Install a backdraft damper and weatherproof the vent opening.
Done correctly, your fan will keep the bathroom dry, fresh, and safe for years. For complex projects, always consult a licensed professional.
You may read also –
How to Change Light Bulb in Shower Extractor Fan
How to Cool Down a Bathroom